HughesNet is an Internet Service Provider, or ISP, that provides high speed Internet via a satellite connection. HughesNet customers are given a modem that receives a satellite signal. Internet service is available by connecting your computer to the wireless signal that the modem broadcasts. If you wish to connect your own router to the modem for security purposes or for greater control over your network, change the IP address of your router so it doesn't conflict with the HughesNet modem.
Step 1
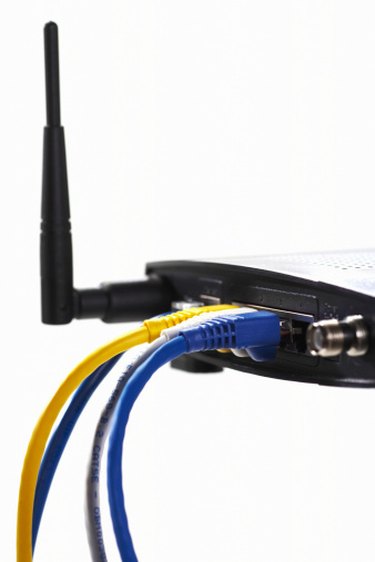
Unplug the Ethernet cable that connects your router to your HughesNet modem if it is currently connected.
Video of the Day
Step 2
Connect your router to its power supply and to your computer via an Ethernet cable.
Step 3
Launch your web browser, type your router's IP address into the address bar and press "Enter."
Step 4
Enter the login and password in the appropriate fields and click "OK" or "Log In" to enter your router's admin page. The login and password is usually a combination of "admin" and "guest." Consult your router's manual if you are unsure of the login information.
Step 5
Navigate to your router's network settings section in the admin control panel. Locate the field for "Router IP Address" and change it to 192.168.10.1. Click "Save Changes" or "Save Settings" and restart your computer.
Step 6
Connect your router to the HughesNet modem via an Ethernet cable. The router will no longer conflict with the modem.
Video of the Day