Both Publisher 2007 and 2013 include a conversion utility that can automatically import Word documents and change them to Publisher format. While most Word documents convert well, there may be a few snags if you have blank pages, page breaks or images in the Word file. To avoid headaches, take a few minutes to prepare the document in Word before importing it into Publisher.
Preparing the Word Document
Video of the Day
Step 1
Open the document in Microsoft Word. Remove any content that you don't want to import, including text, text boxes and images. Make a note of the images in the Word document, especially their proportions.
Video of the Day
Step 2
Remove all extra pages and page breaks by highlighting the blank spaces at the end of one page and the beginning of the next page and then pressing Delete. Blank pages are nearly impossible to remove after they've been imported to Publisher.
Step 3
Click the File menu and select Save As. Save the Word document with a new name so you don't overwrite the original file.
Importing the Document Into Publisher
Step 1

Launch Publisher and click Open Other Publications. If Publisher is already open, click the File menu.
Step 2
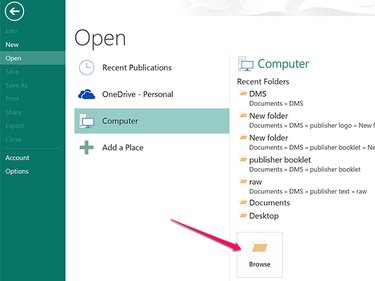
Select Open and then click the Browse icon. Locate the Word file and click Open. Publisher automatically converts the Word document and opens it in Publisher format. Every page contains a text box that holds the Word document's text box. Each text box is linked to the text box in the pages above and below it.
Step 3
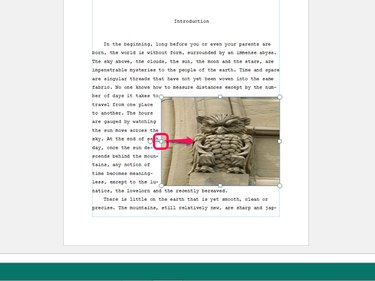
Examine text boxes, images and other objects to ensure they are in the right position and sized properly. Publisher will often distort images. To resize an image, drag any of the handles that appear on its border when you click it. If you right-click the image and select Format Picture, you can crop the image or specify the spacing between the image and the text around it.
Step 4
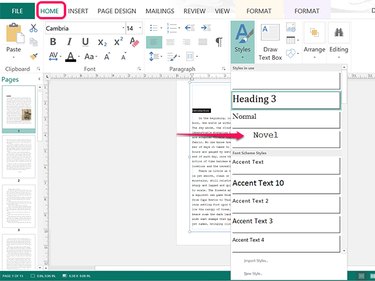
Highlight any text that you want to appear in a different style and then click the Styles icon under the Home tab. Note that styles you created in the original Word document are also imported to Publisher.
Step 5
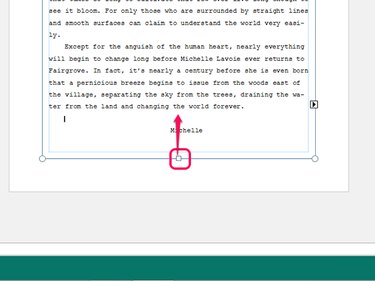
Examine the Publisher document for missing page breaks. Drag the bottom handle of the text box up to where the page break should appear. The content that is below the border's new location is automatically moved to the top of the following page.
Step 6
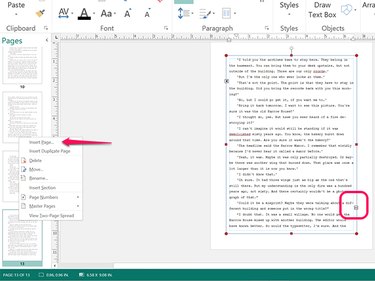
Click the text box on the last page. If you see an Overflow Indicator with three dots, there is additional text that isn't yet visible in the document. Right-click the page thumbnail and select Insert Page. Click the Text Box icon under the Insert tab and drag it over the new page. Click the Overflow Indicator on the previous page and then click inside the text box in the new page.
Continue adding pages and linking text boxes until you don't see an Overflow Indicator on the last page.
Step 7
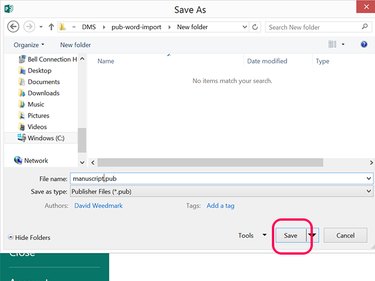
Click the File menu and select Save. Choose a location for the Publisher document, enter a title in the File Name field and click Save.