Transferring content from a Microsoft Publisher 2013 document into a Word 2013 document is a relatively simple task, although the time spent doing so varies based on the length of the document.
Working With Single-Page Documents
If you're converting a single-page Publisher document to Word, export the Publisher document as an HTML file so that you can easily open it in Word.
Video of the Day
Video of the Day
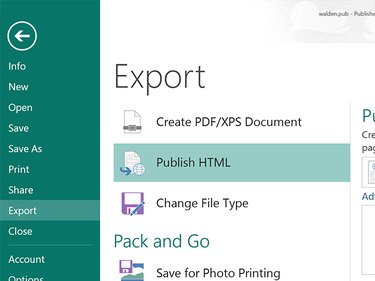
- Click the File menu, select Export and then click Publish HTML.
- Select a location to save the HTML document and its folders containing images and format information.
- Launch Microsoft Word, click Open and select the saved HTML File.
- Drag the images and text boxes as needed to reposition them in the document.
Working With Multi-Page Documents
Many publisher documents, like magazines, books and newsletters, contain many pages with multiple images. Linking text boxes makes it easier to insert text into a large Publisher document so that text cascades easily from one page to the next, regardless of any formatting changes made. Working with such documents in Microsoft Word is actually quite easy.
Step 1: In Publisher
Open the Publisher document. Select the first page and press Ctrl-A to select all, then Ctrl-C to copy the page contents. This copies images and the text boxes to the clipboard, but not yet the text inside the text boxes.

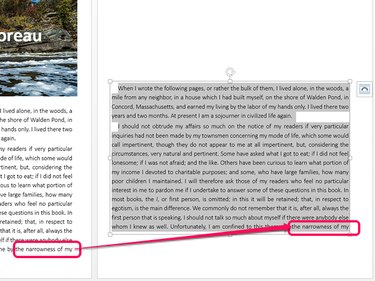
Step 2: In Word
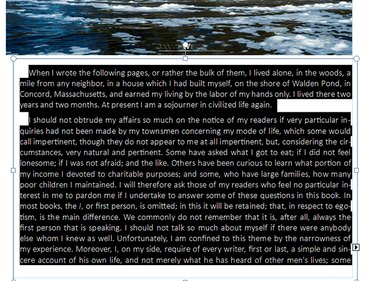
Open a blank Word document. Click the page and press Ctrl-V to paste the publisher content onto the page. Drag the images and text boxes as needed to reposition them.

Step 3: In Publisher
Click the first Publisher text box. Press Ctrl-A and Ctrl-C to copy all of the text. Note that if the text box is connected to another, all of the text is copied, regardless of how many text boxes or pages it covers.
Step 4: In Word
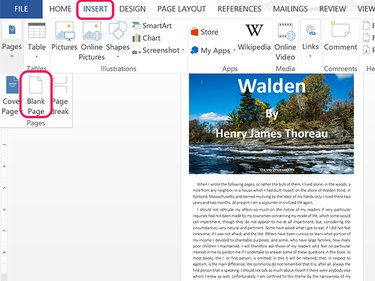
Click inside the first Word text box. Press Ctrl-V to paste the text into the text box. If you need another page, click the Insert tab, select Pages and click Blank Page. Use the same process to transfer each page to Word, by copying the page contents in Publisher, pasting them into Word and then transferring the text in the text boxes.
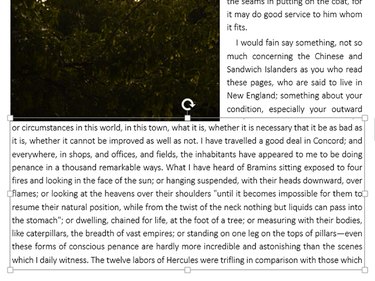
Step 5: In Word
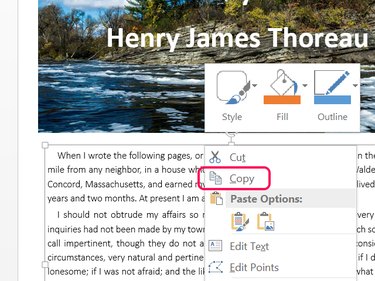
Click a text box in Word that contains more text than it can display. Hover the cursor just below the top border so that the cursor transforms into a crossed arrow. Right-click and select Copy from the drop-down menu.
Step 6: In Word
Right-click on the page where you want the next text-box to appear and press Ctrl-V to paste it. Note that the text box is exactly the same size and displays exactly the same text as the original. Drag the cursor over all of the displayed text and press Delete. The copied text box now continues where the previous text box left off.
Step 7: In Word
Drag the text box to put it in position beside, above or below an image. Resize the text box by dragging any handle on the border. If there is still text hidden from view, right-click the copied text box, select Copy and then paste a third copy elsewhere on a blank area of the document. Once again delete the visible words so the third text box continues where the second leaves off.
Repeat this process if there is still hidden text remaining in the copied text box until all of the words can be seen on the pages.