
Spice up your websites by adding images to them. You can insert images into HTML files using the tag, which you use to specify the location of the image on the Internet, the height and width of the image and alternative text that shows up if the image doesn't load or if someone uses a screen reader to view the page. Three common image file types used on the Web are GIF, PNG and JPEG.
Step 1
Open the HTML file for the Web page you want to add an image to in a text editor like Notepad or Web development software.
Video of the Day
Step 2
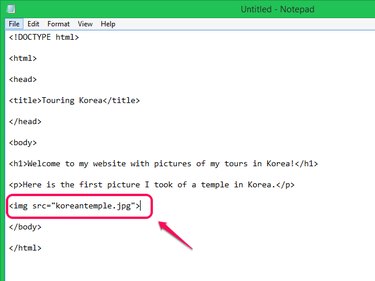
Add an tag to the file. Place the
tag after the element you want an image to appear under when the HTML file is opened in a browser. The
tag does not have a separate closing tag. Within the
tag, you must specify the source of the image you want to display by typing the image's location on the internet with the src attribute. If the image is stored in the same folder as the HTML file, type the image's name and extension. If the image is stored elsewhere, type the full URL of the image.
Step 3
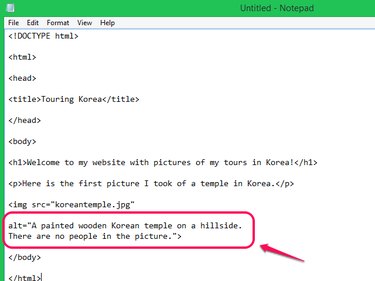
Add the alt attribute to your tag. In HTML5, the alt attribute is required. Use this attribute to describe the image in case it cannot load. If an image cannot load, the browser displays the text you enter after the alt attribute. In addition, the alt attribute is important for screen reader software used by people with visual disabilities. The software reads the text in the alt attribute so that the person with a visual disability viewing your website can hear what is in the picture even though they can't see it.
Step 4
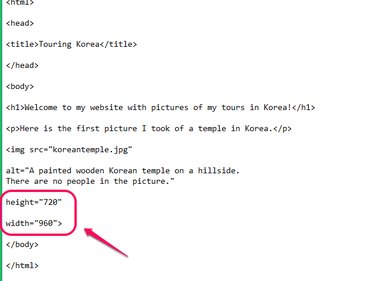
Specify the image's dimensions in pixels with the height and width attributes. If you don't specify the dimensions, the browser does not know how much space to leave for the image as the page loads. This results in a page loading choppily, as the text loads first, leaving a small space for the image, then jumps apart as the image loads and causes the space to expand. With the dimensions specified, the browser leaves exactly the right amount of space between the other elements on the page for the image to fill in when it has finished loading.
Step 5

Test your code to be sure the image displays in the right location by opening your HTML file in a browser.
Video of the Day