Photographing hair models requires the ability to draw special attention to the hair for photo shots. Many options include styling the model's hair so that it appears bigger in the shot, making it more noticeable for the image. Other ways of drawing attention to the model's hair can also involve slight changes of equipment, such as where lighting is placed. You can even position the hair so that it shows up more in the shot rather than the face.
Step 1
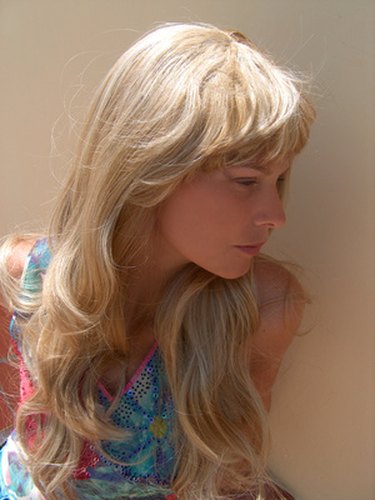
Concentrate on taking pictures of the model's hair from the chest up, depending on the length of the hair. If the model has long hair, try to take a picture to include the length of the hair wherever it falls.
Video of the Day
Step 2
Take note of the model's pose. If you want more attention on the hair, have the model look indirectly towards the camera. Direct the head towards the camera but off-centered from it. For example, the model's head can tilt sideways, showing more of the side of the face and less of the front.
For longer hair, you can sweep the model's hair over the shoulders so that it lays in front of the body for the shot.
Step 3
Take note of the model's hair color. If the model has dark hair, then using a flood light could put more emphasis on the hair and make it more noticeable in the shot.
Step 4
Consider the type of background used for the photo shoot. Use a light or dark background to contrast with the model's hair. The color of the background will help to determine how much light to use for the shoot.
Step 5
Consider the model's hairstyle or hair type: curly, straight or wavy. If the model has curly hair, then most likely more lighting may be needed if you want to create a shiny appearance. Curly hair has the capability to shine just like straight hair but because of curly hair's multiple surfaces, the light bends and the reflection is not as strong or visible. In this case you can, position a flood light over the hair or position it to the side, depending on where you want for the lighting to show.
Step 6
Take more than one shot. For each model pose, take at least five to 10 shots. Position the camera at different angles to take different shots of the same pose. Then direct the model to perform a different pose so that you can take different shots for that pose. Having many shots to compare and choose at the end of the shoot will increase the chances of finding the shots you want.
Video of the Day