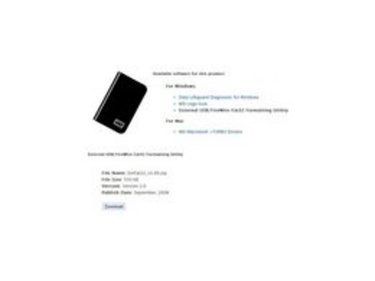
Reformatting a Western Digital My Passport hard drive to function well on Windows and Macintosh systems is neither time-consuming nor technologically demanding. Back up all important information on the drive before beginning; any data left on the drive will be destroyed during the reformatting process. For the most desirable results when reformatting on Windows systems, use Western Digital's Formatting Utility. Due to a system limitation, Windows 2000, Windows XP and Windows Vista can only create 32GB FAT32 partitions, regardless of the drive's capacity.
Step 1
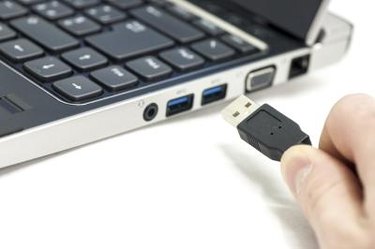
Connect the Western Digital My Passport hard drive to the computer. Power on both devices.
Video of the Day
Step 2
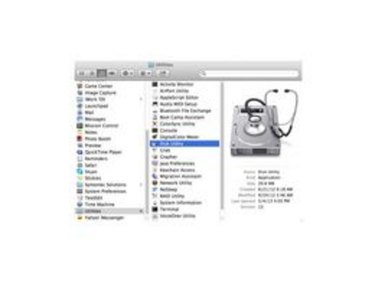
Click the Finder, open the "Applications" folder, open the "Utilities" folder and choose "Disk Utility."
Step 3
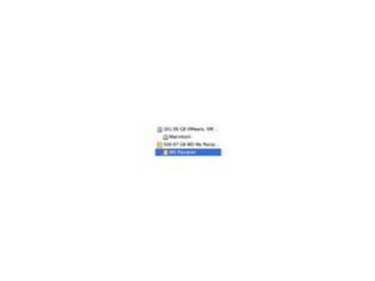
Select the drive you wish to reformat.
Step 4
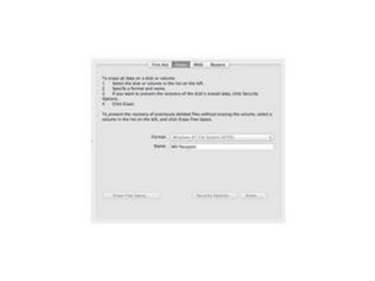
Click "Erase," and pull down the Format menu. Choose "FAT32." Enter a hard drive name, if desired.
Step 5
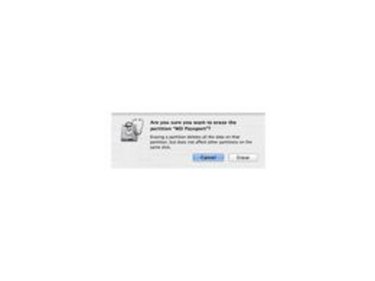
Click "Erase." A confirmation screen opens, stating that all information on the drive will be lost if erased. Click "Erase." Once completed, the erased drive will function on both Windows and Macintosh systems.
Step 6
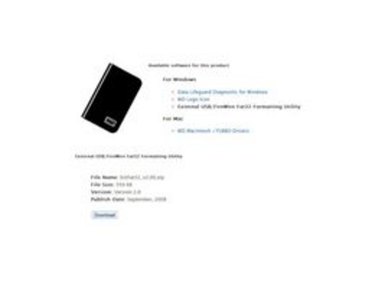
Download and install the Western Digital FAT32 Formatting Utility.
Step 7
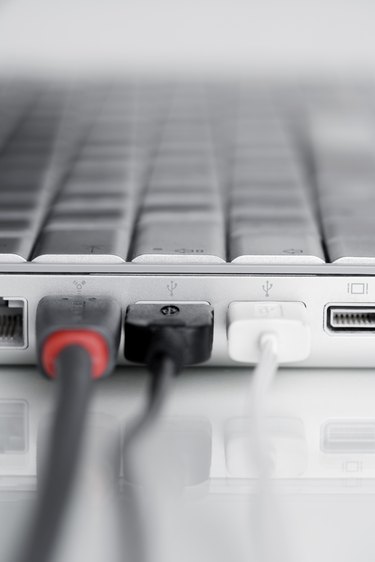
Connect the Western Digital My Passport hard drive to the computer. Power on both devices.
Step 8
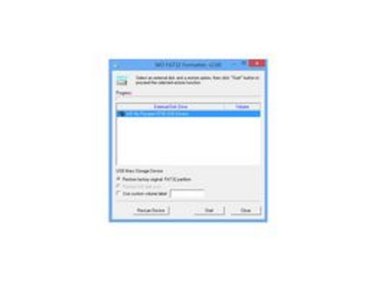
Open the FAT32 Formatting Utility and select the desired external hard drive. Ensure that "Restore Factory Original FAT32 Partition" is selected.
Step 9
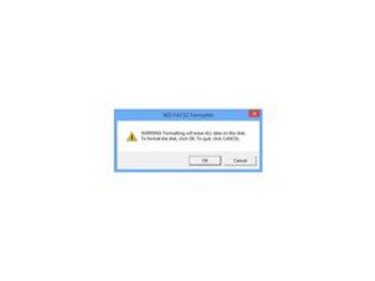
Click "Start." A warning message opens, stating that all data on the drive will be destroyed. Click "OK" to continue. Click "Yes"' to navigate through the prompts.
Video of the Day