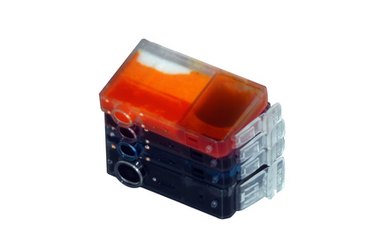
The most advanced Epson professional inkjet printers, like the Stylus 4000 and 7800, require a maintenance tank cartridge to absorb all excess ink that's released during the printing process. These Epson printers automatically keep track of how much printing has been done to determine when they need new maintenance tanks. If you have replaced your printer's maintenance tank but the device still says a new one is required, you can manually reset the maintenance tank counter.
Step 1
Turn off your Epson Stylus professional printer but leave its power cable connected.
Video of the Day
Step 2
Hold down the left, up and down arrow keys next to the printer's LCD display at the same time.
Step 3
Press the power button to turn the printer on while still holding down the three arrow keys.
Step 4
Release the three arrow keys once the printer reaches the "Ready" state. The advanced options menu appears on the printer's LCD screen.
Step 5
Use the up and down arrow keys to find the "Clear Counters" menu. Then press the right arrow key to enter the menu.
Step 6
Use the arrow keys to find the menu option labeled "Maintenance Tank" and press the right arrow key to reset the maintenance tank counter.
Step 7
Restart the printer. The printer's maintenance tank counter is reset to its default state.
Video of the Day