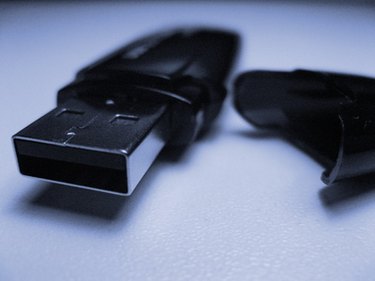
A USB flash drive is a portable data storage device that can be used to transfer data from one computer to another. Flash drives use solid-state data storage, as opposed to magnetic disks, so they are more resistant to damage caused by bumps and drops. They do, however, occasionally develop problems that prevent the drive or files from being accessed. If you experience such problems, the following techniques may help you to get your data off the drive or at least bring it back to a functioning condition.
Corrupted Files
Video of the Day
Step 1
Insert the flash drive into a USB port. Click "Start" and then click "My Computer." Right-click on the flash drive icon and choose "Properties." Click the "Tools" tab at the top of the window.
Video of the Day
Step 2
Click "Check Now...". Put a check in both available boxes, indicating that you want to automatically fix errors and attempt recovery of bad sectors.
Step 3
Click "Start." After the error check is finished, attempt to transfer data from the flash drive onto your computer. This process may recover some bad sectors, enabling data to be removed from the drive. It can help prevent files that are moved to the drive from becoming corrupted.
No Files Can Be Seen
Step 1
Click "Start" and choose "Control Panel". Double-click on the "Administrative Tools" icon, then double-click on the "Computer Management" shortcut.
Step 2
Click "Disk Management" on the left side of the Computer Management window to show all available drives. Locate the flash drive and right-click on it, then choose "Change Drive Letter and Paths."
Step 3
Click on the current drive letter, then click the "Change" button. Choose a new letter from the drop-down menu and click "OK," then "Yes."
Step 4
Attempt to access the drive through "My Computer" by double-clicking on it.
Drive Is Detected But Cannot Be Accessed
Step 1
Format the disk by opening the "My Computer" window and right-clicking on the flash drive. Select "Format."
Step 2
Make sure the "Quick Format" check box is cleared (does not have a check in it) and click "Start" to begin the formatting.
Step 3
Attempt to access the drive from "My Computer." This method erases any data on the drive, but can render a formerly inaccessible drive functional.
Drive Cannot Be Detected
Step 1
Download the HP Disk Storage Format Tool. Open the self-extracting file and click "Next" when the installation program opens.
Step 2
Read the license agreement and click "Yes." Install the program with the default settings and click the "Finish" button.
Step 3
Locate and click on the "HP USB Disk Storage Format Tool" shortcut icon in the "Start" menu. Select your USB flash drive from the drop-down menu and click "Start" to format the drive. This tool has been known to detect and format corrupted flash drives, restoring their functionality.