Boox Palma Tips and Tricks: 5 Key Settings to Adjust First
This guide to Boox Palma tips and tricks isn't about what NeoReader can do out of the box. It's about the layer underneath: useful settings buried in menus that nobody explains, on a device that assumes you'll find them yourself. In a review published last year, Android Police called the related Palma 2 Pro "brilliant but unnecessarily complex," noting that the reviewer had to dig through BOOX's own help center because the device offers no contextual tooltips.
BOOX introduced the original Palma in 2024, and the lineup has since split. The Palma 2 was running Android 13 as of a customization walkthrough posted a year ago (YouTube), while the newer Palma 2 Pro, BOOX's first Palma with a color screen, runs Android 15, per that same Android Police review. That version gap matters mainly as a reminder that menu wording and screen layouts can shift between devices and firmware builds, not because either processor changes how you'd set anything up.
This guide focuses on the Palma 2 specifically, because that's where the available hands-on menu evidence is most detailed: a full customization walkthrough and independent app-configuration testing published late last year by Kvibber, rather than this publication's own device time. Palma 2 Pro owners will likely find similar options in similar spots, but should confirm exact wording under Settings before assuming a path matches.
Five changes get covered: button mapping, navigation scheme, refresh behavior, front-light automation, and sleep timing. Work through them in that order. Buttons first, navigation second, refresh third, lighting fourth, sleep last, since later settings build on choices made earlier and doing them out of sequence just means retracing steps.
Before starting, check the model and firmware version under Settings → About; menu wording shifts between firmware versions, and this guide describes one specific build. Section 1 also assumes a third-party reading app is already installed (Kindle, Libby, Google Play Books, and so on). NeoReader-only readers can skip ahead to Section 2.
How to use Boox Palma buttons with your reading app
Video of the Day
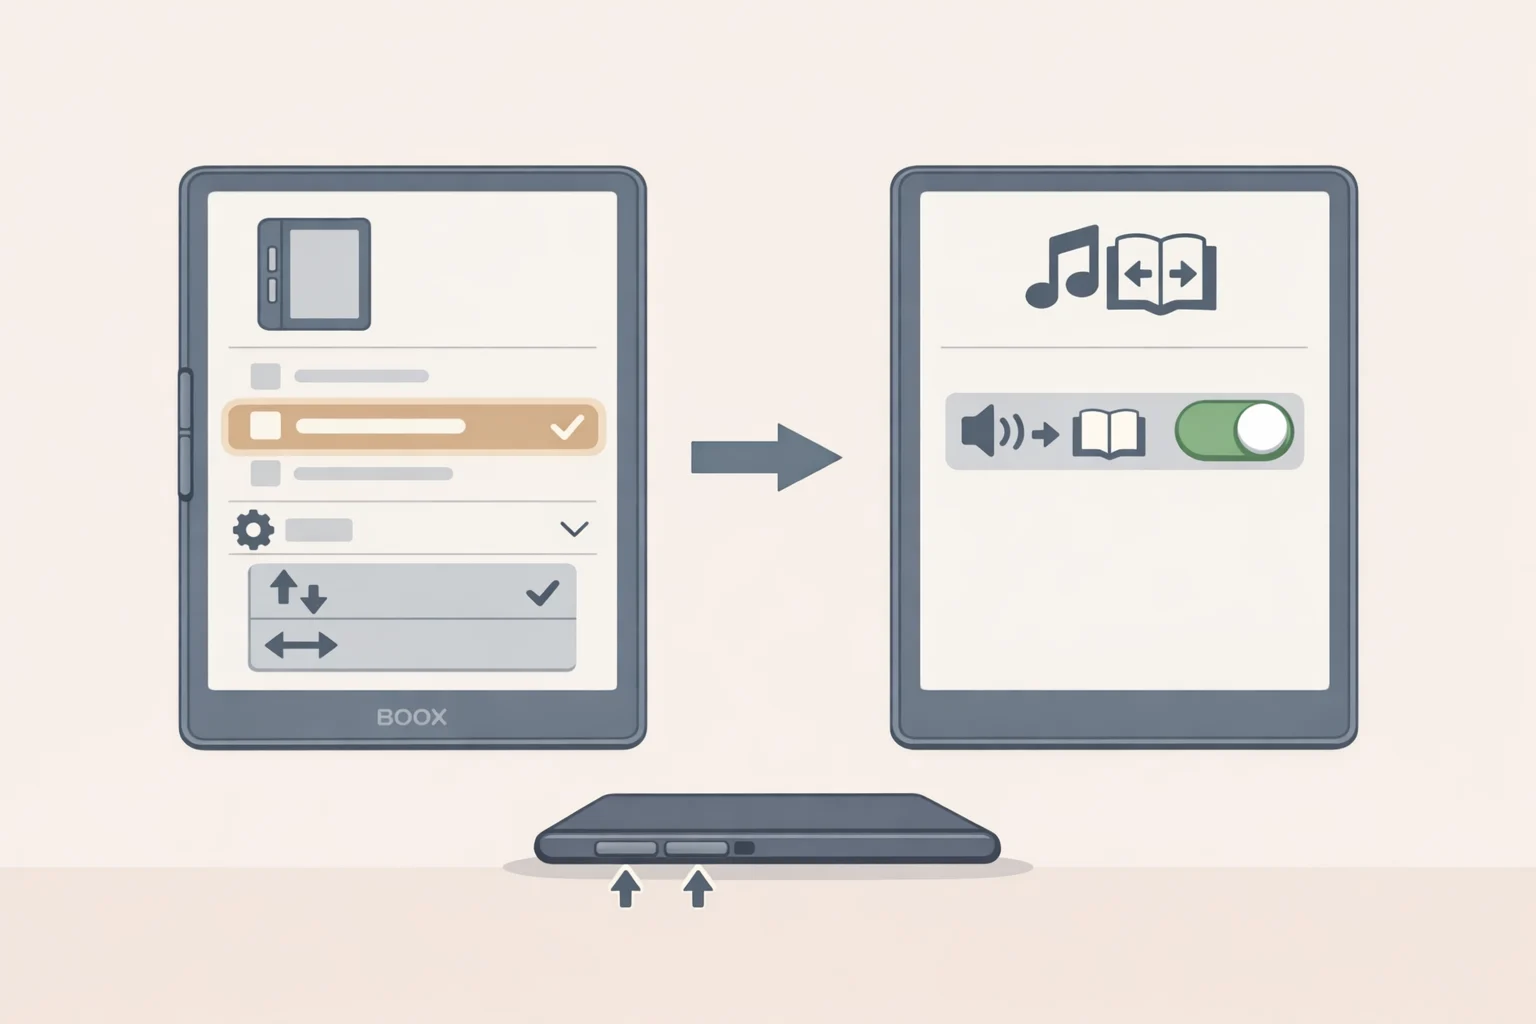
The Palma's side buttons are a genuine upgrade over touchscreen-only e-ink devices like the Poke3, Kvibber noted. Outside BOOX's own app, though, they don't do anything until you tell them to.
NeoReader comes preconfigured to use the buttons. Most third-party reader apps need their own BOOX-side setting, chosen from three options: Volume, Page-turning, and Scrolling (Kvibber). Volume is generally paired with an app's own volume-button toggle; Page-turning advances content directly through the BOOX side without needing an in-app setting; Scrolling moves through an article in smaller or slower increments in the apps that support it. The important distinction is between the BOOX-side setting for the app and the reading app's own volume-button setting. Both usually need to be switched on.
The general pattern: set the BOOX-side option to Volume, then flip on the app's own "use volume buttons to turn pages" toggle. In Google Play Books, that toggle sits under the account icon → Play Books Settings → Ebook reading → "Use volume keys to turn pages" (Kvibber).
Libby breaks that pattern. It works with the Page-turning option rather than Volume, and separately, "Stay active in the background" has to be enabled on Libby's Customize/Other tab, or it won't download anything already borrowed (Kvibber). Those are two distinct settings solving two distinct problems, not one toggle that happens to do both.
Two more apps show how varied this gets. Librera supports button navigation via Volume, and the source also reports a "Reverse buttons" option in Librera, unique among the apps tested (Kvibber). Wallabag illustrates the split most clearly: set the BOOX option to Page-turning or Scrolling to move within an open article, or set it to Volume and enable "Navigate with volume buttons" in Wallabag's own settings to jump between saved articles instead (Kvibber).
Kindle is its own case. The customization walkthrough spends a separate segment getting volume-button paging to work inside the app, distinct from the general pattern used elsewhere, though it doesn't spell out the exact menu steps (YouTube).
One more thing worth knowing before assuming something's broken: turning on screen rotation flips which side the buttons sit on, useful for left-handed or landscape reading, but disorienting if you forget it happened (Kvibber).
This setup rewards readers who mostly live in one app. Split reading across three or four apps and expect a short configuration pass in each one, just once.
Video of the Day
Boox Palma settings guide: pick one navigation scheme instead of three
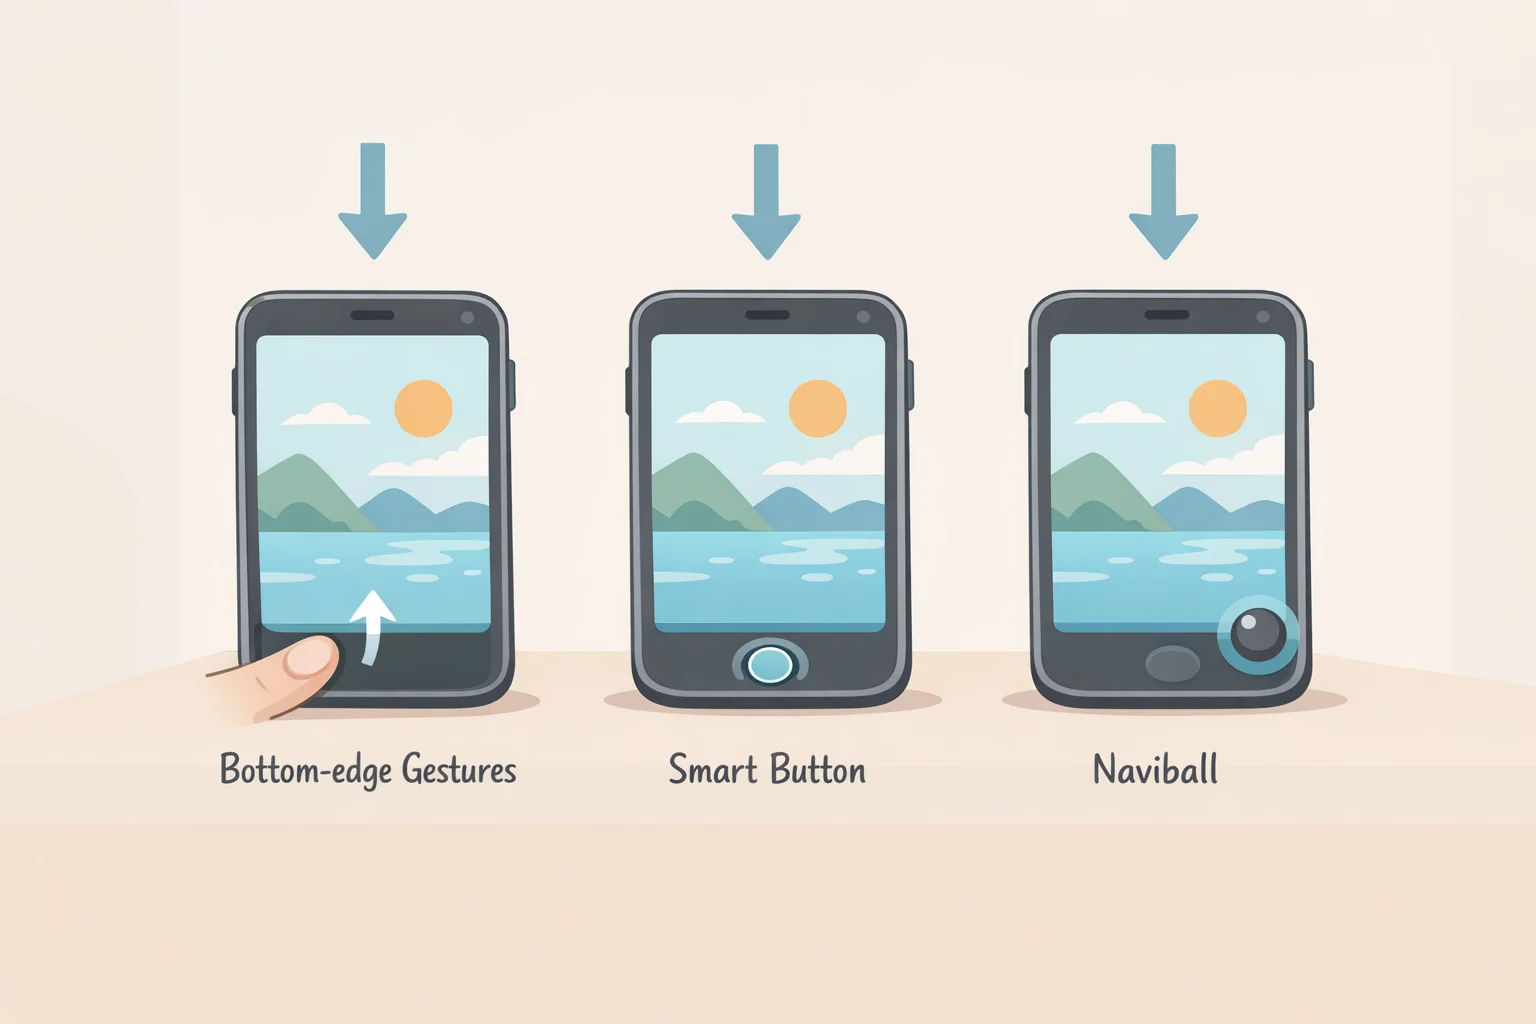
The Palma 2 offers several overlapping ways to move through content: bottom-edge gestures, a physical Smart Button, and a floating on-screen shortcut called the Naviball. Running all three at once tends to add clutter rather than convenience, a judgment call worth making early rather than letting the device default into it.
Bottom-edge gestures live under Settings → System Navigation → Gestures → Custom, where each swipe zone can be reassigned or replaced with on-screen buttons entirely. In the customization walkthrough, the creator sets the bottom-left swipe to return to the home screen instead of its default action, as one example of how the zones can be remapped (YouTube). Pick one zone that matches a habit you actually have and leave the rest alone.
The Smart Button sits in the same customization area as the volume buttons and supports three separately mappable actions: a single press, a double press, and a press-and-hold (YouTube). In the walkthrough, the creator configured single press as a page-turner for their own setup, which is a sensible option if you want to flip pages without touching the screen at all. Double press and press-and-hold are left open in that same demonstration. As a practical matter, and this is editorial advice rather than a tested result, assign them to whatever action you reach for most: home screen, brightness toggle, or nothing at all.
The Naviball is a separate floating menu that toggles on or off and can be customized once enabled, which the walkthrough confirms directly (YouTube). As a practical matter, leave it off if buttons and gestures already cover what you need, and turn it on only as a fallback for the occasional app that ignores both.
Set refresh behavior for clean text and smooth scrolling
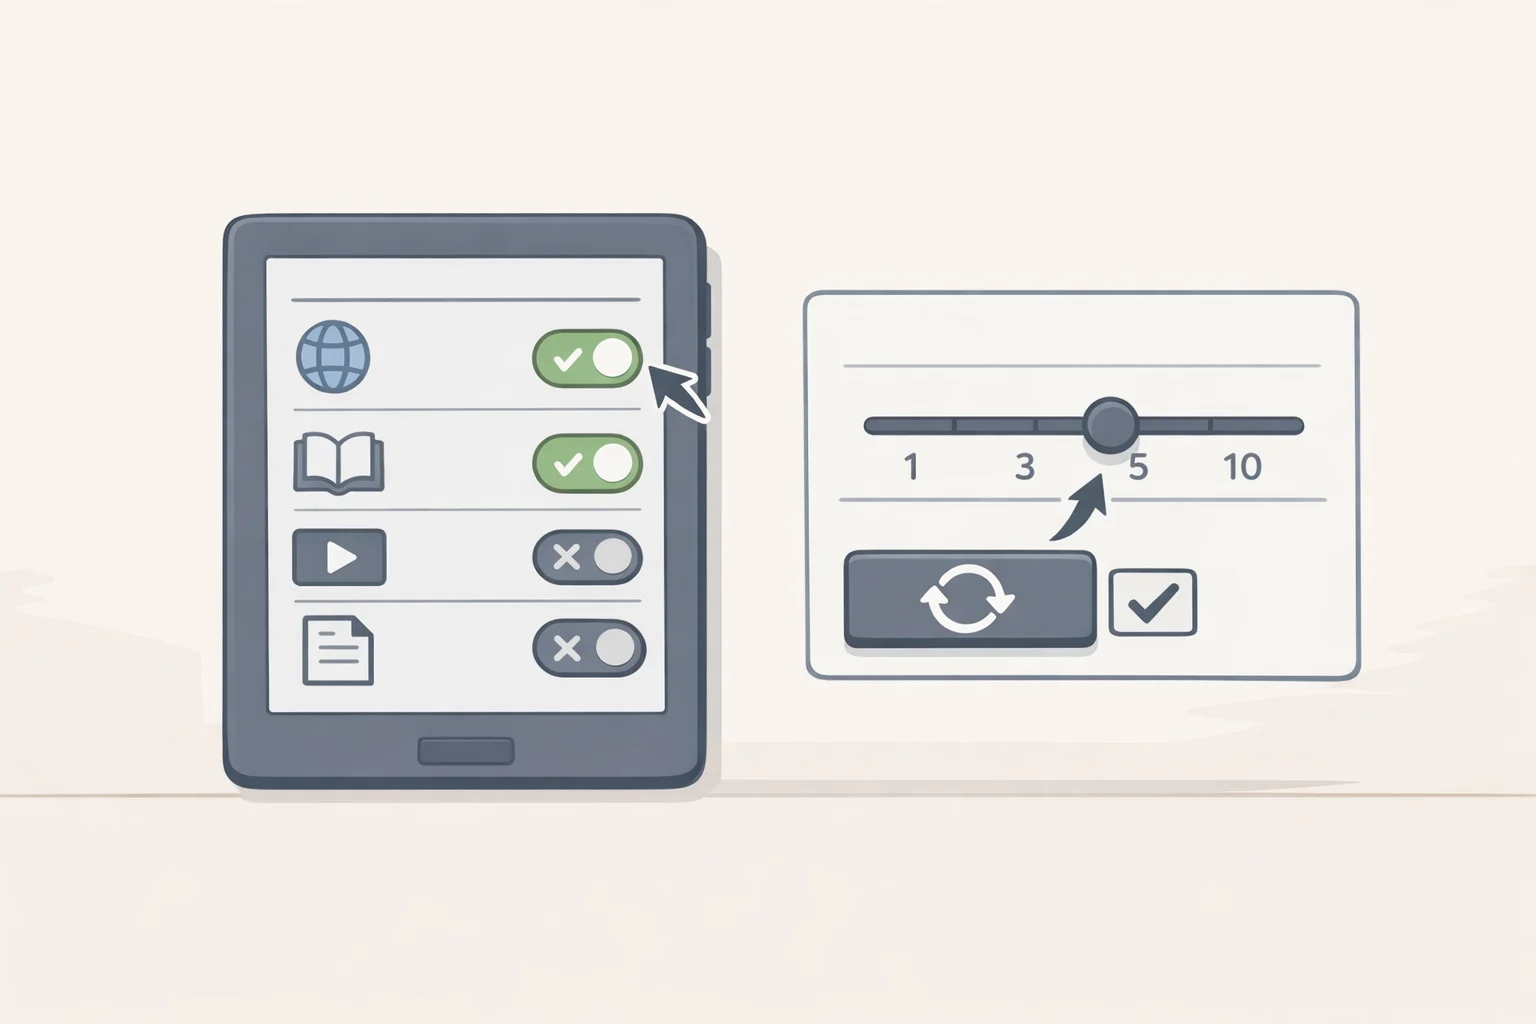
Refresh behavior covers two separate controls that are easy to conflate. Refresh mode governs the trade-off between how sharp the screen looks and how fast it updates. Full-refresh frequency governs how often the screen clears completely to prevent ghosting, faint traces of previous text lingering on the page. Troubleshooting one has nothing to do with fixing the other, so it's worth keeping the two apart before opening any menus.
Swiping up from the side edge of the screen opens the E Ink Center, where refresh modes can be assigned per app or left on one shared default for everything (YouTube). HD mode is the pick for text-heavy reading apps; ultra-fast trades visual accuracy for quicker updates on video or fast-scrolling content (YouTube). Configuring every installed app individually is an option, and so is picking one shared default for all of them; either approach is available from the same menu.
The per-app E Ink controls are easy to miss because they open from an edge swipe rather than sitting inside a settings menu anyone would browse casually.
Full-refresh frequency is a separate control entirely. In the walkthrough, the presenter believed the demonstration unit defaulted to a full refresh every five page turns, though wasn't fully certain that was the out-of-box setting (YouTube). That interval can be set to "never," with a manual full refresh instead mapped to a button or gesture. If your firmware offers a shorter interval and ghosting starts bothering you, test it rather than assuming five is wrong for your use case.
Text-first readers are generally fine leaving this at HD with whatever the default interval turns out to be. Anyone using the Palma 2 for video, browsing, or messaging should switch that specific app to a faster mode instead of changing the setting globally.
Treat automatic lighting as a starting point, not a fixed rule
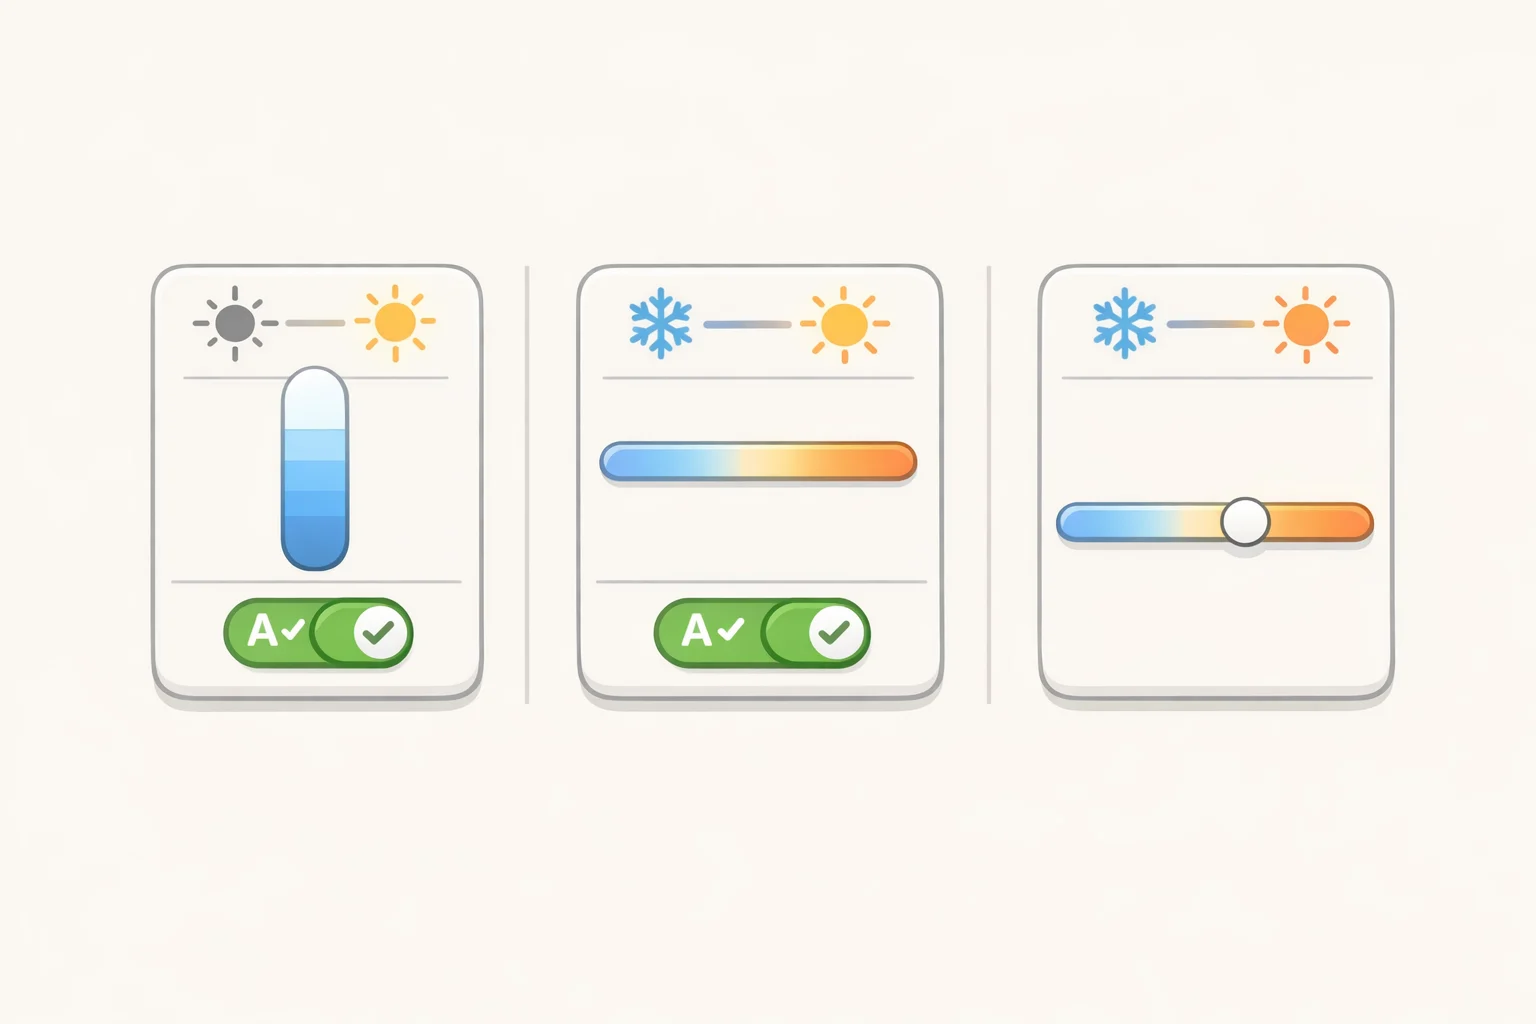
Resetting brightness and warmth by hand every time the light changes is exactly the kind of friction that turns an e-reader into a chore.
Swiping down from the center or right two-thirds of the top edge opens quick toggles for brightness, warmth, auto-brightness, and automatic color-temperature (YouTube). The exact wording of these toggles may differ slightly depending on firmware version. Turning on auto-brightness hands brightness adjustment over to the device automatically; turning on auto color-temperature shifts the front light from cool to warm without touching a slider (YouTube).
A reasonable starting point is leaving both on for a week, particularly for anyone who reads in different rooms or at different times of day. That's not a setting proven optimal for everyone, just a sensible default worth testing before overriding it. If brightness or tone still feels wrong after that week, adjust one variable at a time rather than switching everything off at once.
If you read mostly in one fixed spot under a lamp that never changes, automatic adjustment can shift the tone mid-session in ways that feel inconsistent rather than helpful. In that case, turn off auto color-temperature specifically, leave auto-brightness running, and set warmth manually once.
Once brightness and warmth are set, the remaining battery question is how long the Android system stays awake after you put the device down.
Set a sleep timer that protects battery without losing your page
An e-ink panel can hold a static image without continuously refreshing, which is why e-readers sip power compared to phones. The Palma 2 is a full Android device underneath that display, though, and an auto-sleep timer can reduce the time the system remains active between sessions.
Auto-sleep timing lives in the general power-and-battery area of Settings, worded slightly differently depending on firmware, and lets you choose how long the device stays awake before dropping off (YouTube).
The battery figures from testing make the stakes clear, even without pinning the cause on any one setting. On the related Palma 2 Pro (3,950mAh), one Android Police reviewer burned through 40% of the battery in a week of heavy testing, gaming, video, streaming, frequent settings changes, but only 10% in a week once settings stabilized and testing eased off, a pace that suggests light, well-configured use could stretch battery life to roughly two months (Android Police). The results don't isolate auto-sleep as the specific driver; they mainly show how dramatically usage intensity moves the number. Because these figures come from the Pro, they shouldn't be treated as a battery-life estimate for the standard Palma 2.
There's no single verified ideal setting here, so treat this as a range to choose from based on habits. If frequent short pauses, checking a message, setting the device down for a minute, are the norm, a longer window (five minutes or more) avoids the device sleeping every time you look away. If you prioritize standby savings instead and mostly read in longer, uninterrupted stretches, start with one or two minutes, then lengthen it if pauses during reading start becoming irritating.
Getting started without overthinking it
None of this fixes the Palma 2's underlying problem, which is that its best settings sit behind menus with no explanation, matching what Android Police found reviewing the related Palma 2 Pro: a device that "throws you into the deep end and wishes you luck" rather than walking new owners through its own options. These five changes are the map that review implicitly asks for.
Each is a one-time setup cost. Configure one reading app first, since that's where most people will notice the difference immediately. From there, work through refresh behavior, then battery timing, in that order, since ghosting and battery drain are the two problems most likely to send someone back into the settings menu later. These settings should reduce how often you need to revisit the menus, though it's worth checking back in if behavior changes after a firmware update.
BOOX announced firmware V4.1 in August 2025, adding one-tap PDF viewing themes, a Crop OCR tool for pulling text from a selected area, and a reading-time estimate in the status bar (BOOX firmware overview). The supplied sources don't confirm whether or when that update reaches the Palma 2. Checking Settings → About → System Updates periodically is worth doing, especially for heavy PDF readers, but there's no reason to hold off on the five settings above while waiting.