How to upscale a photo and convert it correctly for any use
Anyone searching for how to upscale a photo is usually stuck with an image that's too small, too soft, or too old for the job at hand. Before opening any tool, it helps to know what upscaling actually does, because it isn't restoration. AI upscaling reconstructs a higher-resolution version from a lower-resolution input, and the added detail is generated rather than recovered from some hidden original file (Acta IMEKO, academic review). Tools built on convolutional neural networks or generative adversarial networks are trained to predict what a sharper version of a scene probably looks like. The output can look convincing at a glance while still containing detail the model invented rather than reconstructed.
Adobe introduced Generative Upscale for Photoshop on desktop and web in beta last year, in July 2025, offering 2x and 4x scaling with a choice of AI models that restore, preserve, or invent detail depending on which one is selected (Adobe Blog). Adobe's help documentation for the feature was updated three months ago, and that's the version of the workflow this guide walks through (Adobe Photoshop Help).
Converting a photo is a separate job, and conflating the two is where a lot of time gets wasted. Converting is a format-and-destination decision, not a quality upgrade: lossy formats permanently discard data, lossless formats don't, and the correct choice depends entirely on where the image is headed (Fstoppers, earlier this year). This guide covers how to tell which problem you actually have, how to run the upscale with a real output target in mind, and how to convert the result correctly for the web, print, or long-term storage without quietly degrading the file every time you touch it.
First, diagnose the problem: is it resolution or compatibility?
Video of the Day
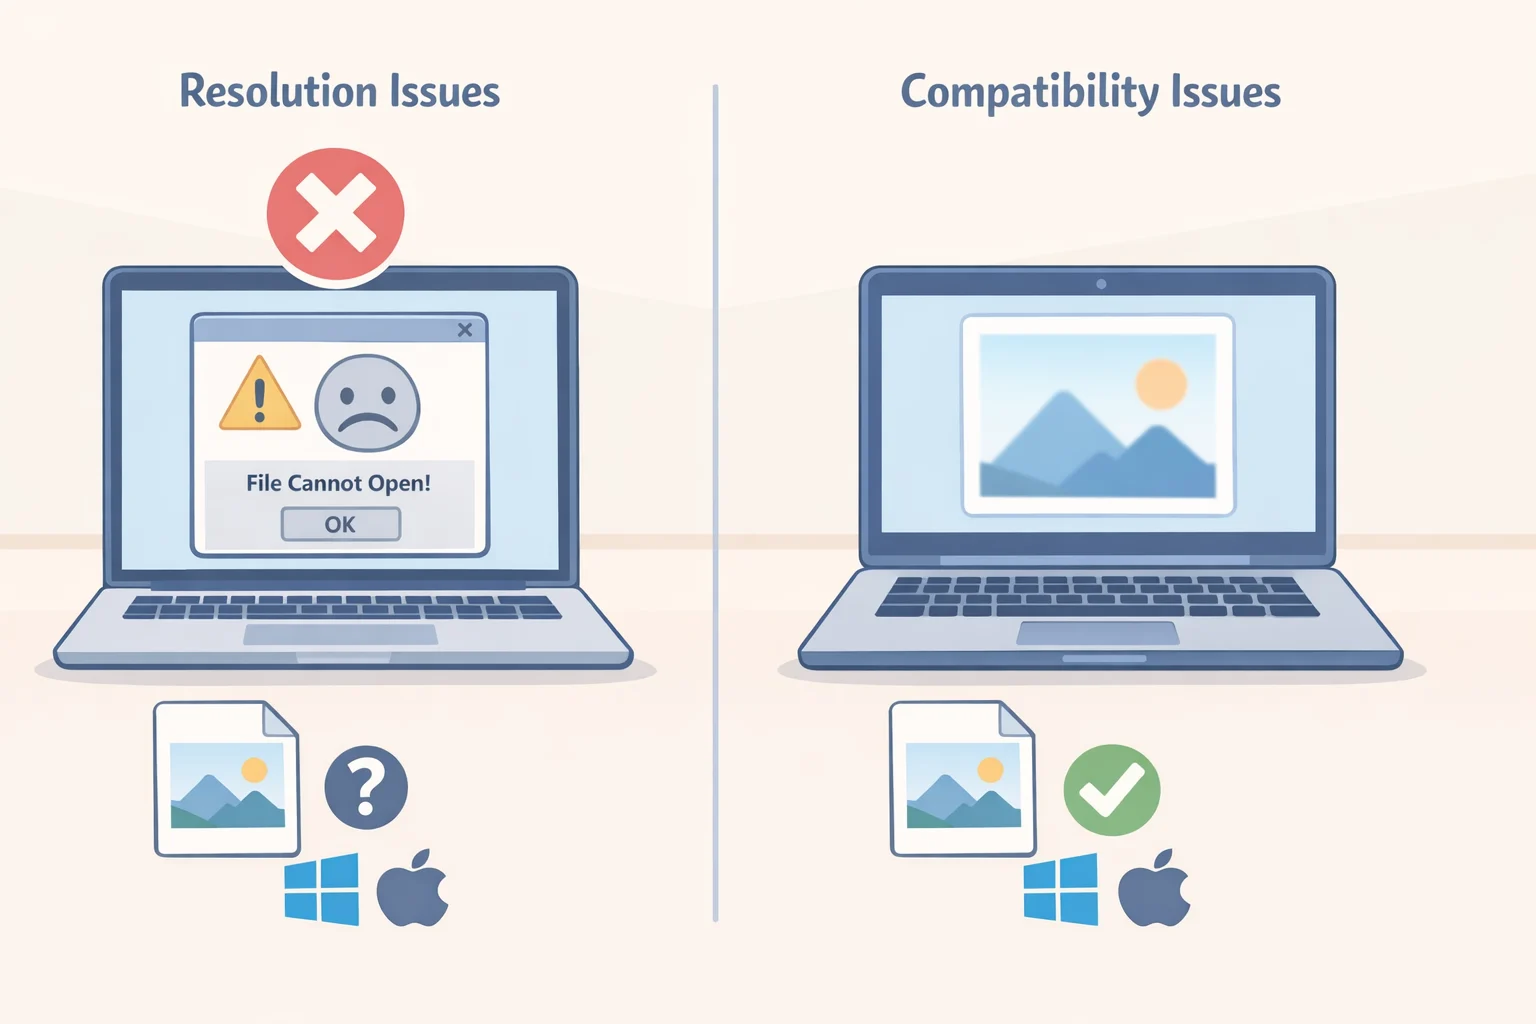
Before opening any editing tool, figure out what's actually broken. Not every "the photo looks bad" complaint is a resolution problem, and treating a compatibility issue like a resolution issue wastes time and introduces artifacts you didn't need in the first place.
Compression is the underlying variable. Lossy compression permanently discards data the algorithm predicts won't be missed, while lossless compression, similar to how a ZIP file works, preserves everything (Fstoppers, earlier this year). If a file simply won't open where you need it, that's a compatibility problem, not a quality one. A common example: a HEIF photo captured on an iPhone opens fine on the phone but may fail on a Windows PC, since Windows can require additional codecs to read the format (Fstoppers, earlier this year). No amount of upscaling fixes that. Converting the file to something universally readable does.
A resolution problem looks different. The file opens without complaint, but it's too small or too soft for what you're trying to do with it: a print, a bigger crop, an old scan that needs to hold up on a modern screen. That's where AI upscaling actually applies, and it's the scenario people mean when they ask how to increase photo resolution rather than just fix a broken file (Adobe Photoshop Help).
Treat these as two separate operations, even when one image has both problems. If a photo needs a resolution boost and a format change, upscale first from the best available master, then export once for the final destination. Running the file through multiple lossy passes, or exporting before the resolution work is finished, locks in mistakes you'll only notice later.
Video of the Day
How to upscale a photo with AI in Photoshop
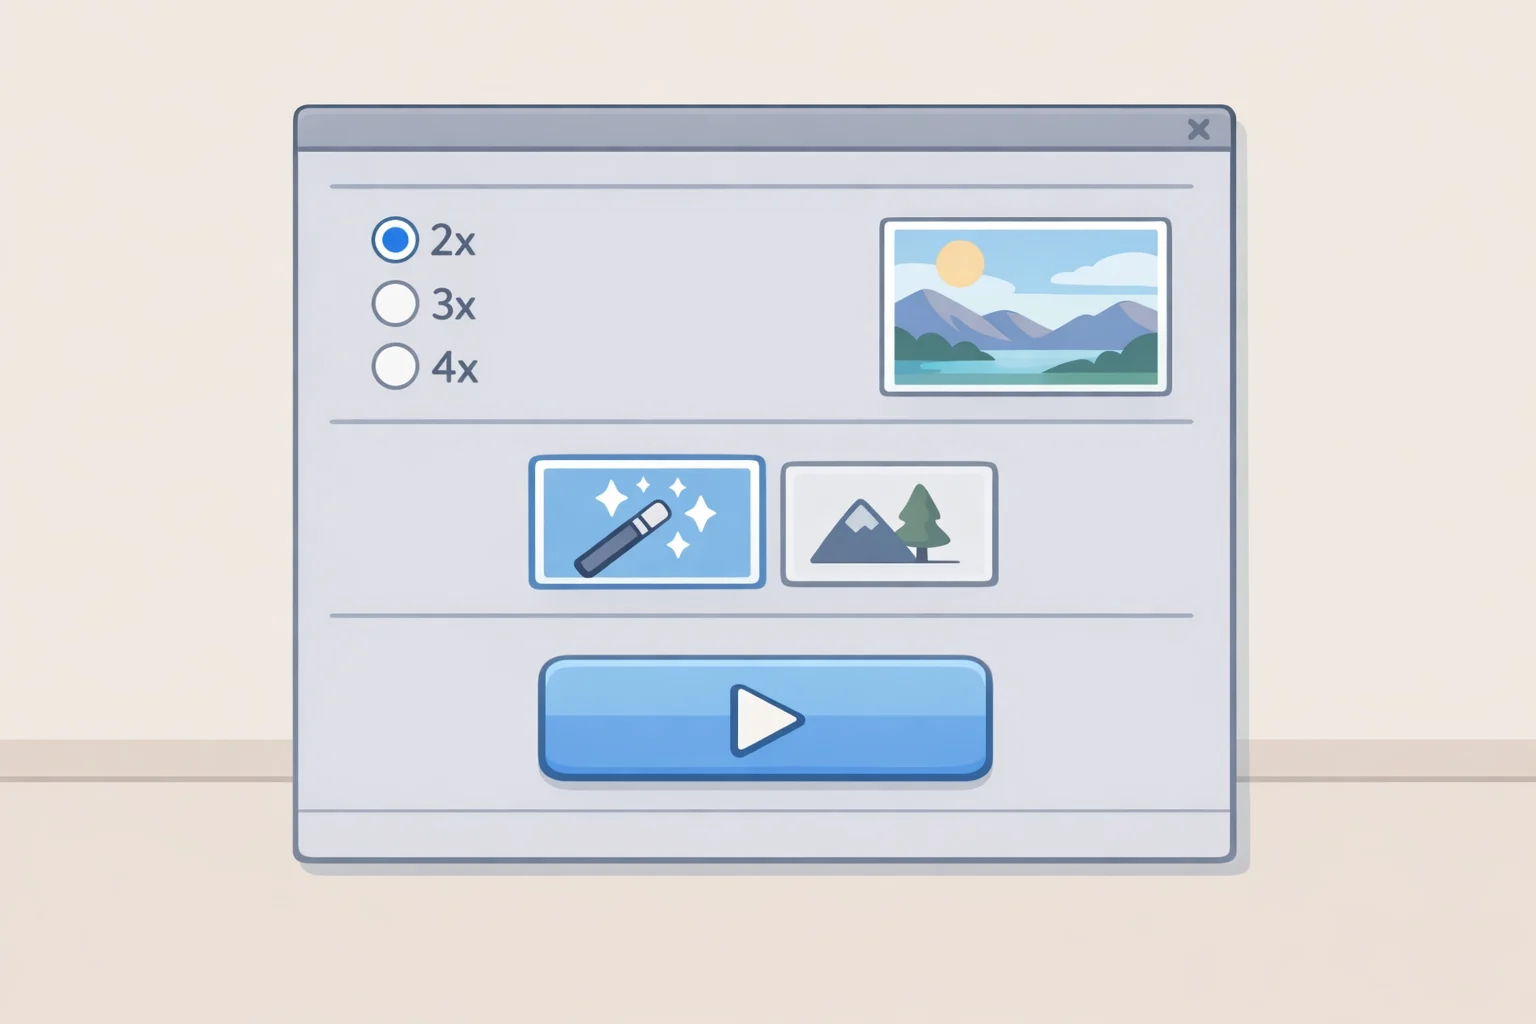
Generative Upscale is available in Photoshop on desktop and web; the Topaz-powered models require a premium subscription (Adobe Photoshop Help). The mechanics are simple enough. Working out what you actually need before you start is the step that's easy to skip.
Not every soft or muddy image needs enlarging. If the pixel dimensions are already sufficient but the image looks soft, sharpening or noise reduction usually fixes it faster, and more honestly, than a generative model built to improve image quality and detail rather than restore clarity that's already gone. If the file is genuinely short on pixels, that's when Generative Upscale earns its place. If your target exceeds what a given model can output, say beyond Firefly Upscaler's 6,144-pixel ceiling, crop first or find a different workflow rather than forcing a mismatch.
- Work out your target size before you open the tool. Check the print lab's requested pixel dimensions or PPI, or the exact placement size for a web layout. PPI doesn't create pixels; it's a label applied to a file's existing pixel count. Match your real output need to the file's actual dimensions rather than assuming a bigger PPI number conjures detail that isn't there. As an example only: if a lab asks for 300 ppi, an 8x10-inch print works out to 2,400 x 3,000 pixels, a target calculated from that lab's own spec, not a universal rule.
- Open the low-resolution image using File > Open (Adobe Photoshop Help).
- Go to Image > Generative Upscale (Adobe Photoshop Help).
- Pick the smallest scale, 2x or 4x, that reaches your target dimensions, then choose the model that matches your goal. Firefly Upscaler restores low-resolution images up to 6,144 x 6,144 pixels. Topaz Gigapixel preserves existing detail up to 56 megapixels and requires a premium subscription. Topaz Bloom adds new, "creative" detail up to 9 megapixels and also requires a subscription (Adobe Photoshop Help).
- Click Upscale. Photoshop generates the result as a new, separately named document, so the original file stays untouched (Adobe Photoshop Help).
Adobe's own launch materials describe the feature as delivering "high-quality resolution enhancements" and, separately, "sharper, more detailed results" (Adobe Blog). That's marketing language from the company that built the tool, not an independent benchmark, and it's worth keeping in mind while judging your own results. The tool generates new pixel data. It does not recover the original scene.
How to upscale an image without adding unwanted artifacts
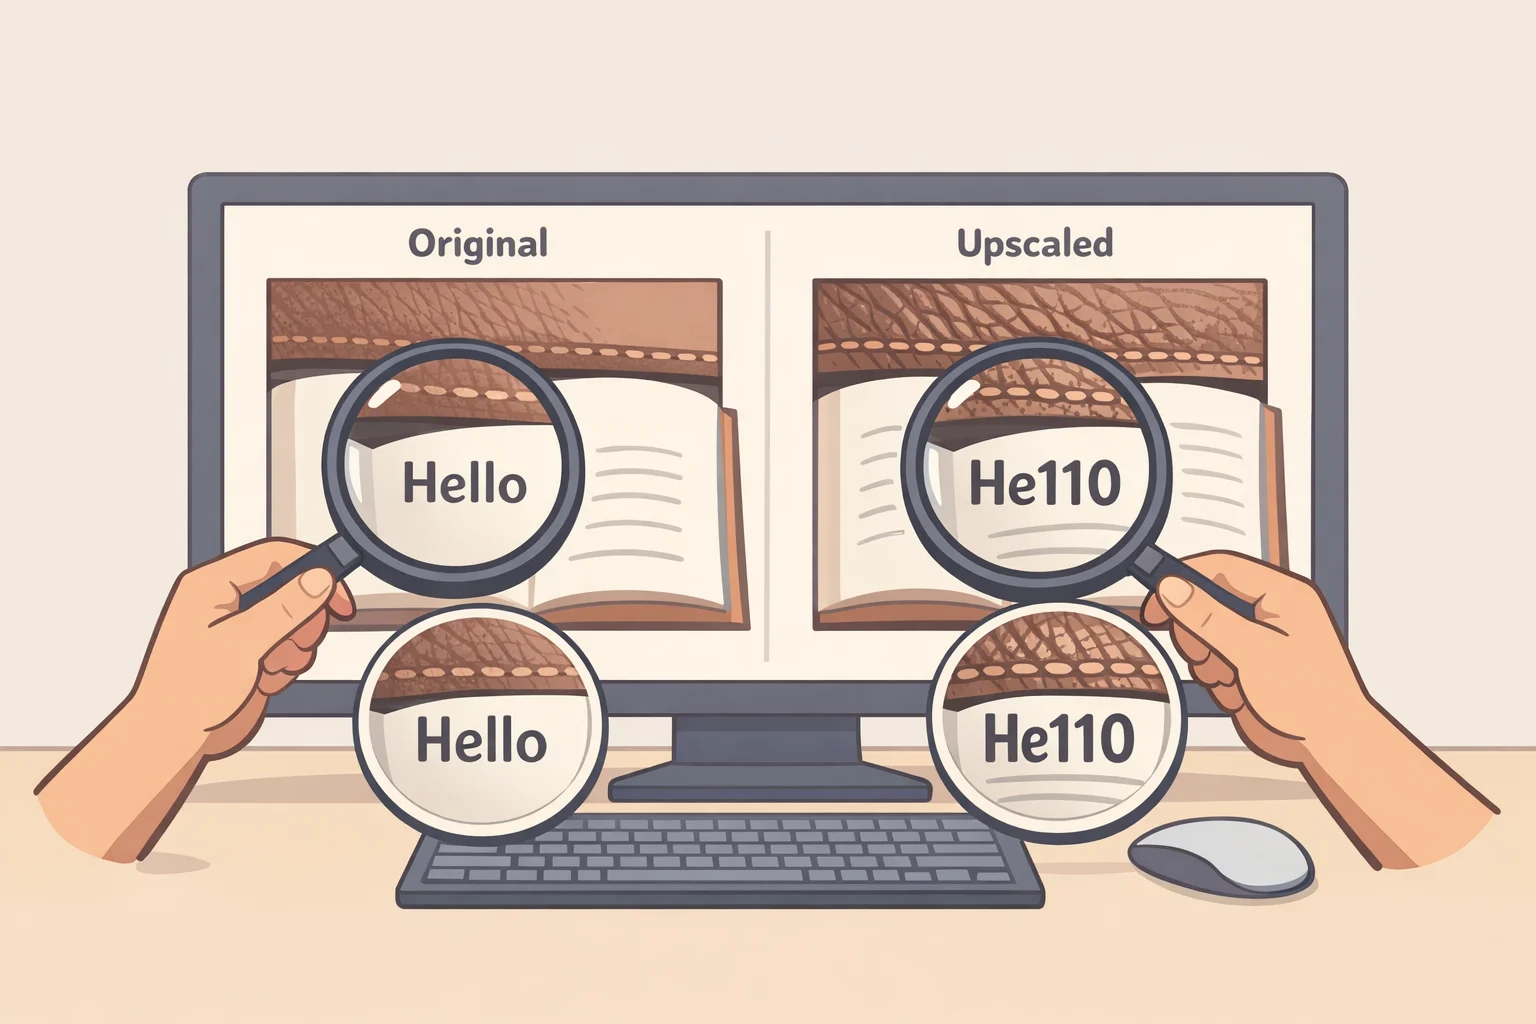
There's no such thing as a truly lossless enlargement when detail was never captured in the first place. So treat "how to upscale an image without losing quality" as a question about avoiding visible mistakes, not about recovering information that isn't in the file. The practical version of that goal is inspecting the result before you use it anywhere that matters: zoom to 100 percent and look closely at faces, hands, small text, and repeating textures, since these are the areas generative models most often guess wrong.
Compare the original and the generated file side by side at 100 percent, then again at whatever size you'll actually display or print it. Some artifacts vanish at normal viewing distance while others become obvious. If skin looks waxy, if a repeated pattern like brick or fabric blurs into a generic texture, or if small text turns into shapes that resemble letters without spelling anything real, the model is inventing rather than reconstructing. Rerun the upscale with a more conservative model, or fall back to a standard resize, before sending the file anywhere.
There's also a category of images where generative enhancement doesn't belong at all: evidence, historical documentation, identification photos, or anything where an invented detail could mislead someone. For material that has to remain documentary, use a standard resize or interpolation method instead, and keep the original file alongside any enlarged version. The result will look softer than anything a generative model produces, but every pixel traces back to something the camera actually captured.
How to convert a photo for its destination
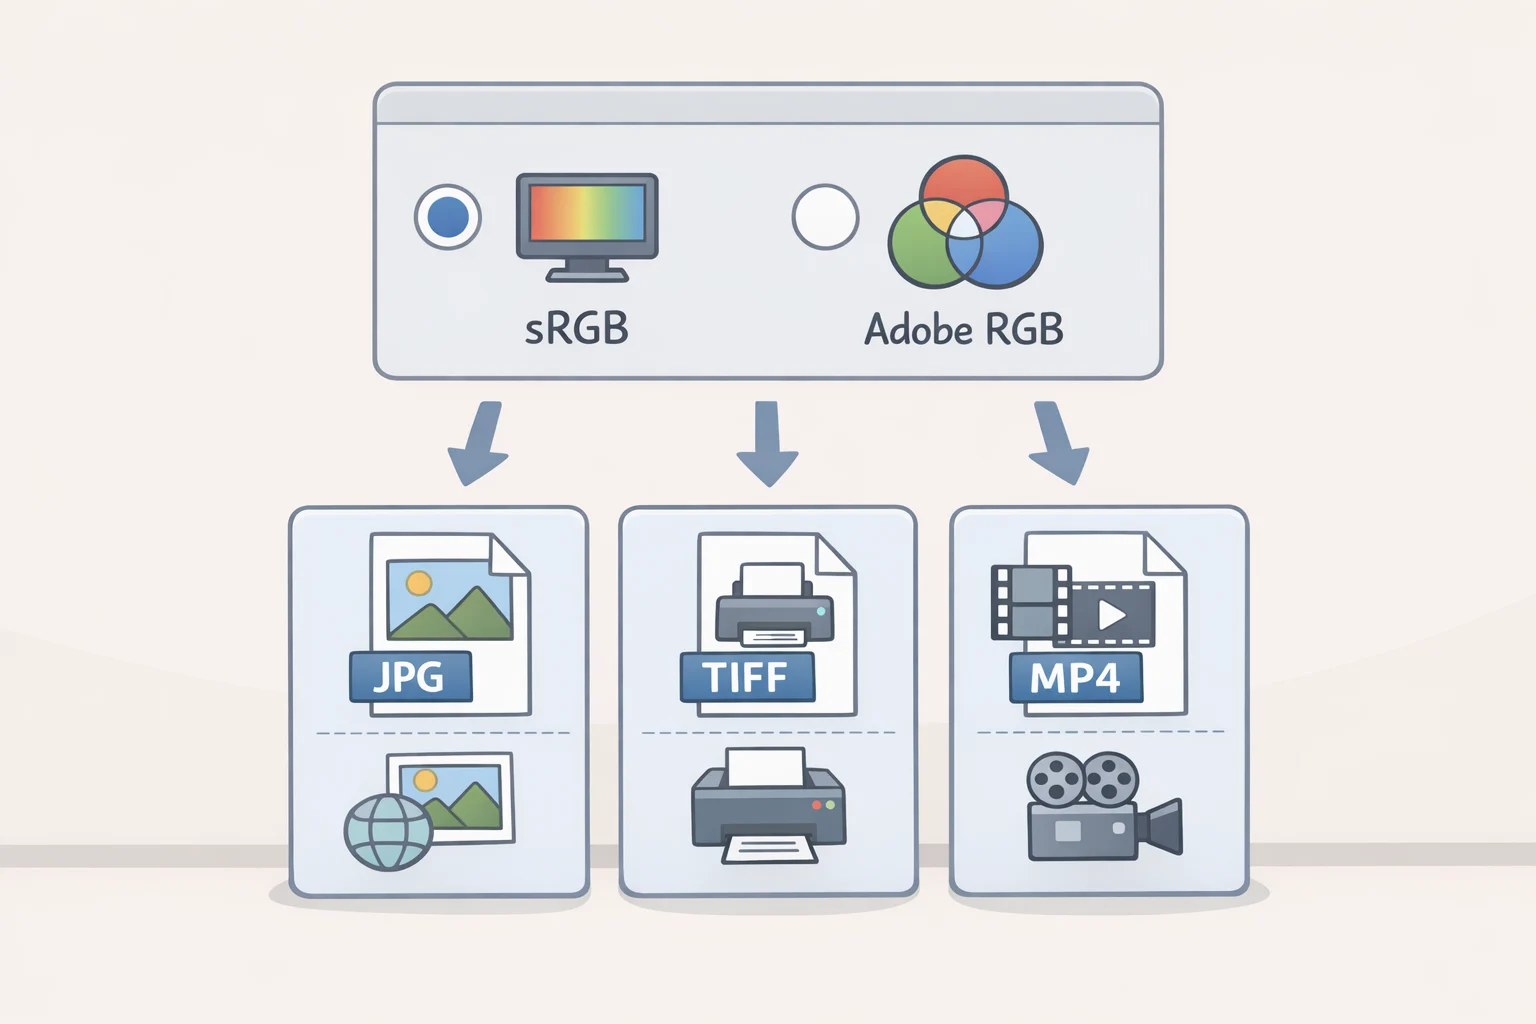
Once the image is the right size, export it in the format and color space the destination expects. The sequence matters more than any single format choice.
Start from your master file, not a previously exported copy. Duplicate or export from the raw or lossless original so you're not compounding old compression on top of new compression (Fstoppers, earlier this year).
Set the destination dimensions and color space before you export. Use sRGB for web work and general client delivery, and sRGB or Adobe RGB for print, depending on the lab's specification (Fstoppers, earlier this year). If your source file is an iPhone HEIF, note that it typically carries a Display P3 profile, which is wider than sRGB and can look oversaturated in apps that don't handle color management properly. Convert the color space deliberately; don't just change the file extension and assume the colors will follow (Fstoppers, earlier this year).
From there, the export format depends entirely on the destination:
- Client delivery or general sharing: JPEG in sRGB at quality 80 to 90, which is generally visually transparent; below quality 70, compression artifacts become noticeable (Fstoppers, earlier this year).
- Website publishing: WebP offers lossy and lossless modes at roughly 25 to 35 percent smaller file sizes than equivalent JPEGs with solid browser support, though JPEG remains the safer default for direct client handoffs (Fstoppers, earlier this year).
- Print: TIFF, unless the lab specifically requests JPEG. TIFF supports both 8-bit and 16-bit depth and reliably embeds the color profile (Fstoppers, earlier this year).
- Transparency needs, like logos or composites: PNG. Not for ordinary photographs; its lossless compression produces far larger files with no visible gain over a high-quality JPEG (Fstoppers, earlier this year).
- HEIF source headed anywhere professional: convert to JPEG or TIFF first. HEIF runs roughly 50 percent smaller than an equivalent JPEG but still has inconsistent support, particularly on Windows (Fstoppers, earlier this year).
Metadata deserves a check too. EXIF (camera and capture data), IPTC (copyright and captions), and XMP (edit history) should carry through the export unless you're deliberately stripping it for privacy reasons. Check the export dialog's metadata setting rather than assuming it's preserved by default (Fstoppers, earlier this year).
Finally, open the exported file on the actual target platform, or in the receiving software, before sending it onward. It's a small step, and it catches color-space or compatibility surprises while they're still your problem to fix quietly, rather than a client's problem to notice publicly.
Match the fix to the problem
The habit that protects both jobs is the same one: work from a raw or lossless master, and generate every upscaled or converted copy from it rather than re-exporting from an existing copy. For proprietary raw files headed into long-term storage, converting to DNG is a reasonable extra layer of insurance against format obsolescence (Fstoppers, earlier this year).
Reduced to three lines:
- File won't open where you need it: convert it.
- File opens fine but has too few pixels or too little detail: upscale from the best available master, then export once for the destination.
- Both problems at once: do the enlargement first, then create the destination export.
Formats and models will keep shifting under the hood. What won't change is the discipline of knowing exactly what's broken about a file before you touch it.