How to Use Photopea as a Free Photoshop Alternative Online
Open a layered Photoshop file, rewrite a line of text, add a correction layer, and save the whole thing back, without installing anything or paying a cent. That's what Photopea does, running entirely at one web address. For a quick PSD fix, that alone can save a trip to Photoshop.
Photopea is a free browser-based image editor at photopea.com that requires no installation and works without creating an account (SoftHandTech, about five months ago). PCMag calls it a "surprisingly capable online clone of Adobe Photoshop" that costs $0.00, built to read and write Photoshop's native PSD format directly inside the browser (PCMag, about nine months ago). That combination, real PSD support with a zero-dollar price tag, is exactly why it's worth learning how to use Photopea as a free Photoshop alternative for everyday PSD work.
By the end of this guide, you'll know how to open a layered PSD in Photopea, edit a text layer, add an adjustment layer, and decide whether to save the result as a working PSD or export a flattened JPG or PNG. There's also a look at what to do when a file doesn't open cleanly, a shortcut for readers who don't need layers at all, and a plain accounting of what "free" costs in ads and data.
What you need before you start
Video of the Day
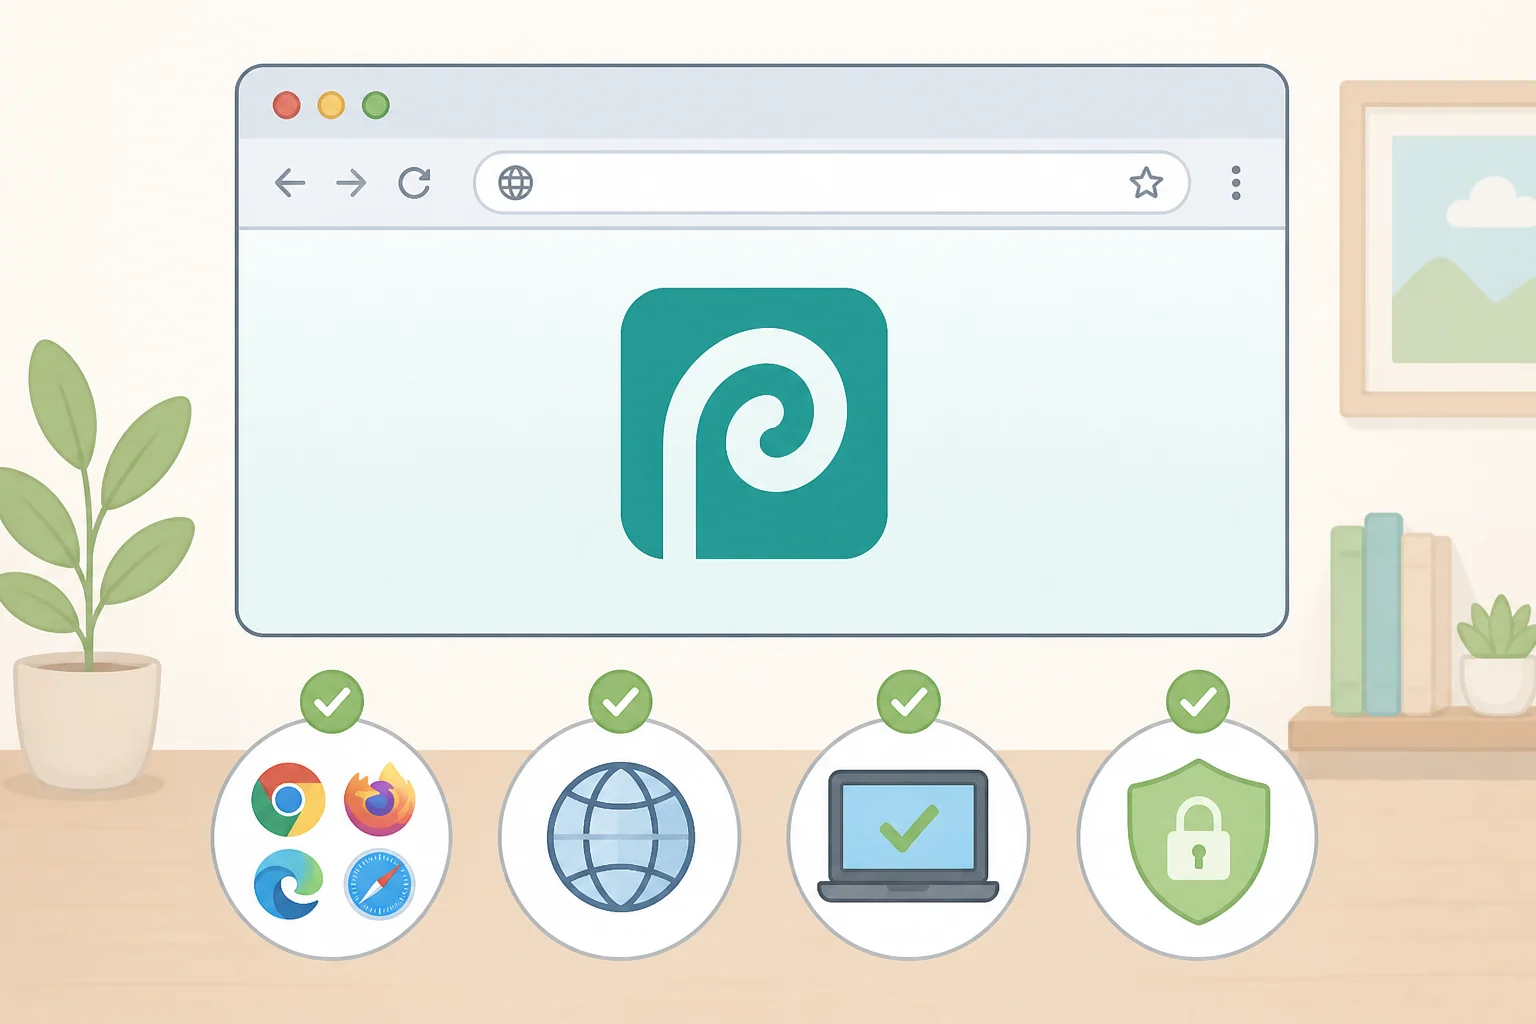
The requirements for this free browser-based photo editor are almost embarrassingly short. A modern browser (Chrome, Firefox, or Edge) and an internet connection get you in the door, though performance runs smoother with roughly 4GB of RAM and a 2GHz processor (SoftHandTech, about five months ago).
Because Photopea runs entirely in the browser rather than as installed software, it works across laptops, desktops, and mobile devices without needing a separate version for each operating system (SoftHandTech, about five months ago). That matters more than it sounds like it should: a locked-down work laptop or a school machine that blocks new installs may still open Photopea in a browser tab, network policies permitting.
Have your PSD or image file ready on your device before you start. One workaround worth knowing about upfront: Photopea's Google Drive import has been affected by a Google API dispute. As of the last public update on the issue, Google was still blocking the access Photopea needs to pull files directly from Drive, though a Google representative had reportedly reached out to help resolve it (Photopea GitHub issue, about eleven months ago). That status could easily have shifted since, so test Drive access yourself rather than assuming either way. Pulling a file straight from your device sidesteps the question entirely.
Video of the Day
How to edit PSD files online with Photopea
This is the part that proves the promise: a real PSD edit, done free, in a browser tab.
1. Go to photopea.com and open your file. Use File > Open and select your PSD, or drag it straight onto the canvas. Photopea loads the file in its native format, so there's no conversion step to worry about. Once it appears, scan the layers, text, and effects to confirm they came through the way you expect before changing anything. No browser-based editor guarantees perfect fidelity with every plug-in effect or exotic layer type, so treat anything unusual as worth a second look.
2. Save a working copy before you touch anything. Use File > Save As PSD and give the copy a new name. That way, if you make a mistake, it lands on the duplicate rather than on the only version of the file you have. This step is optional, but it's cheap insurance.
3. Find the right layer in the Layers panel. PSD files often stack masks, adjustment layers, text, and effects on top of each other, and in a busy file it's easy to click the wrong one. Check a layer's name and thumbnail before editing to confirm you've got the right target; toggling the visibility icon next to it can help you isolate what you're looking at.
4. Edit the text. Double-click straight into a text layer, the same convention most Photoshop-style tools use. If that doesn't respond, look for a dedicated text tool in the toolbar. Type the replacement copy, then click elsewhere on the canvas to lock in the change.
5. Add an adjustment layer for non-destructive tweaks. Look for an adjustment layer option under the Layer menu, mirroring how Photoshop organizes the same feature; Brightness/Contrast or Curves are common starting points. Because adjustments like these sit above the pixels rather than altering them, testing a look this way stays reversible.
6. Decide how to save based on what happens next. If the file is heading back to someone still working in Photoshop, use File > Save as PSD to keep the full layer structure intact. If you're publishing or sharing a finished image, use File > Export as, then choose JPG or PNG. Exporting flattens the file, so keep the saved PSD as your working copy if there's any chance you'll need to edit it again.
If a PSD doesn't open the way you expect
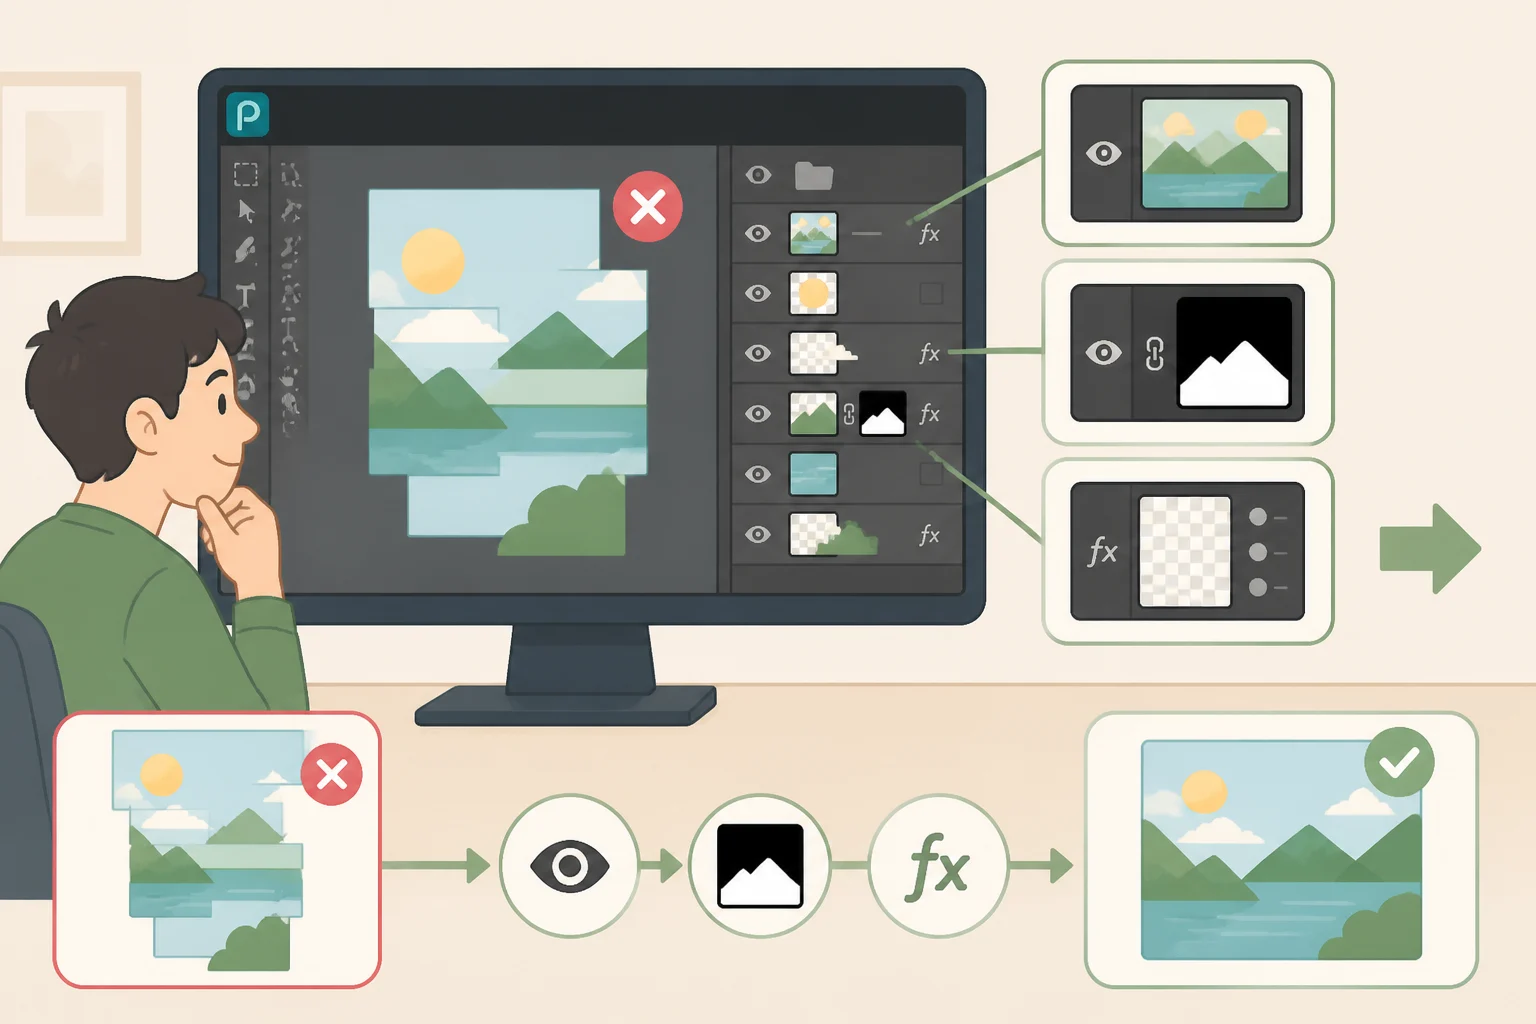
After opening a complex file, compare the important text and effects against what the original looked like. Photopea handles most everyday PSD features well, but perfect compatibility with every plug-in or advanced layer type isn't guaranteed, so an occasional mismatch on a specific file isn't a sign something's broken.
If something looks off, scan the layer stack from top to bottom and try to isolate which layer, mask, or effect is responsible. When a critical piece looks wrong, it's worth checking back with whoever sent the file rather than guessing at a fix.
If you only need a quick edit, skip the layers
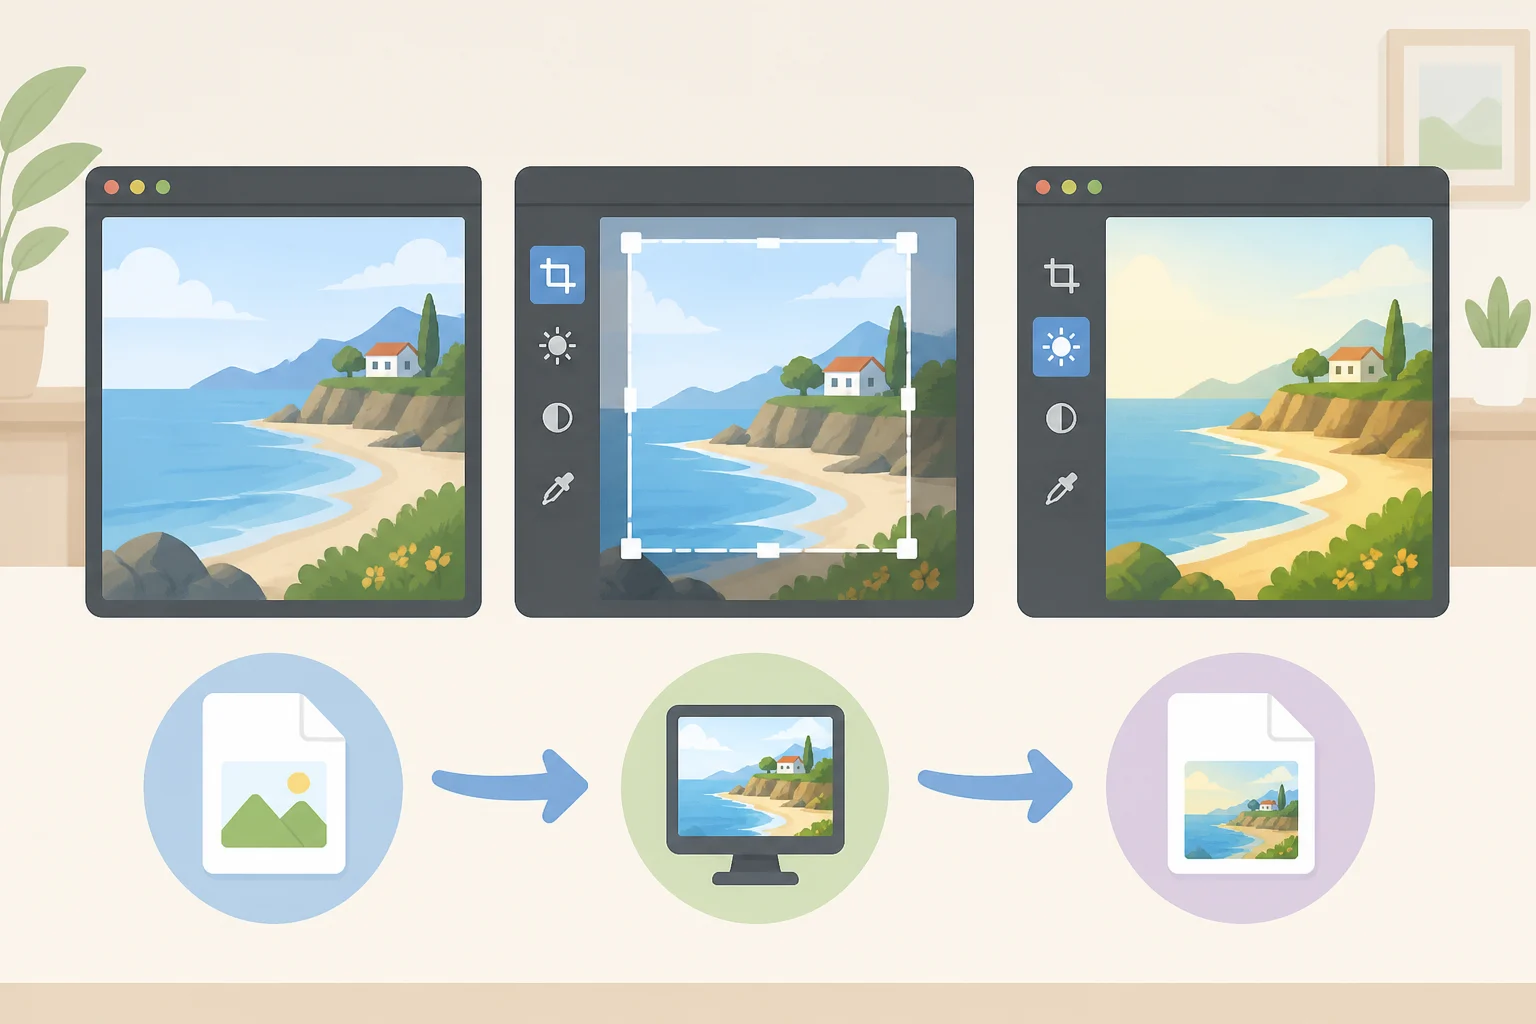
Not every job needs the full layer workflow. If someone hands you a flat JPG or PNG and asks for a crop, a resize, or a quick color tweak, open it the same way (File > Open, or drag it onto the canvas), make the change with Photopea's basic tools, and export directly. There's no PSD-specific complexity to worry about, and it's the fastest way to use Photopea as a free browser-based photo editor without touching layers, masks, or adjustment stacks at all.
What "free" actually means: pricing, ads, and data handling
Free accounts get every non-AI editing feature Photopea offers, not a limited trial version, according to Shotkit's review. The trade-off is that the free tier runs multiple video ads down the side of the workspace while you work (Shotkit, about six months ago).
A Premium tier is reported to start at $5 a month, removing ads and adding 5GB of PeaDrive cloud storage against 0.5GB on the free plan, along with 3,000 AI credits a month and two extra steps of undo history (Shotkit, about six months ago). Treat those exact figures as things to double-check on photopea.com directly, since pricing and storage allowances on subscription products tend to shift over time.
On privacy, SoftHandTech reports that Photopea's site claims it does not collect or store personal data, and that editing operations run locally in the browser rather than uploading images to a server, with cookies limited to session functionality and anonymous analytics (SoftHandTech, about five months ago). That's a secondary source summarizing a claim rather than an independent audit, so treat it as a reasonable signal, not settled fact. Local processing, ad-supported access, and optional cloud storage are separate issues, and "your edits happen on your device" isn't the same as a thorough privacy guarantee. If sensitive material is involved, read Photopea's current privacy policy directly rather than taking any single review's word for it.
Where Photopea fits, and where to pause first
Photopea is most useful for small, self-contained jobs: opening a PSD someone emailed you, making a quick text or color change, exporting something social-ready without waiting for Photoshop to launch. It's also a solid pick for anyone who wants a Photoshop-style editor without downloading software, particularly on a machine that won't allow new installs.
Files leaning heavily on plug-ins, complex automation, or unusual layer types deserve a test run before trusting them completely. Browser-based tools tend to cover the common cases well but can stumble on advanced, software-specific features. For recurring professional work that depends on pulling files from Google Drive, test the current integration yourself instead of assuming that dispute is still unresolved (Photopea GitHub issue, about eleven months ago). And for sensitive client files generally, check Photopea's current privacy terms directly rather than relying on a secondary summary (SoftHandTech, about five months ago).
Test it before you trust it
The fastest way to know whether this workflow holds up for real work is to run it once on a file that doesn't matter. Take a non-sensitive copy of an actual PSD from a real project, work through the steps above, and reopen the saved file afterward to confirm the layers, text, and adjustments survived the round trip intact.
If everything holds together, Photopea has earned a spot in the toolkit for the PSD work that comes up day to day. If something looks off, better to catch it on a throwaway file than on a deadline that matters.