Copy protected VHS tapes can easily be converted to DVDs using a home computer. Copy protection only works when dubbing from tape to tape. Copy protection can be circumvented when copying to a computer, the VHS tape believes that it is simply outputting the media to a TV for viewing. The user captures the VHS footage on the computer then writes it to a DVD. This can be done using native Windows software.
Step 1
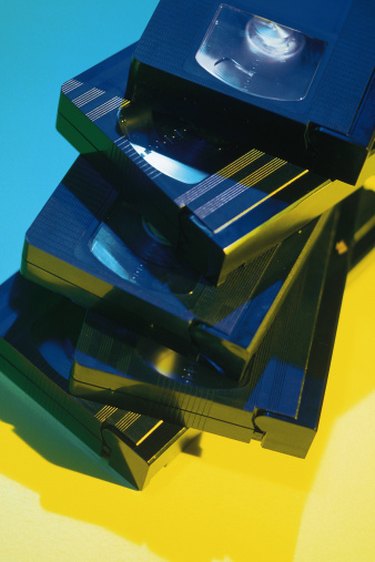
Insert the VHS tape into the VCR and rewind it.
Video of the Day
Step 2
Purchase the necessary video cables. An RCA to USB cable will be necessary. The RCA jacks will plug into the VCR and the USB head will plug into the computer. This cable is inexpensive and available at most electronic stores.
Step 3
Plug the RCA end of the RCA to USB cable into the VCR's video and audio out ports. The ports and jacks will be yellow (video,) red (audio) and white (audio.) Make sure to match the same color jacks to the same color ports on the VCR.
Step 4
Plug the USB end of the RCA to USB cable into a free USB port on the computer.
Step 5
Open "Windows Movie Maker," by clicking "Start Menu," "Program Files," "Windows Movie Maker."
Step 6
Press "CTRL" and "R" at the same time to bring up the "Import Video" screen. The screen will display the output of the VCR on it. Press "Capture" and immediately press "Play" on the VCR. Windows Movie Maker will now capture the VHS tape to the computer.
Step 7
Wait until the entire video on the VHS tape has finished playing then press "Stop" in Windows Movie Maker. The program will encode the video and it will appear in the "Imported Media" bin.
Step 8
Drag the video from the "Imported Media" bin into the "Timeline" at the bottom of the screen.
Step 9
Insert a blank DVD into the computer.
Step 10
Click "Publish Move." Select "DVD" and click "Next." Click "OK" and "Windows DVD Maker" will open.
Step 11
Enter a "Title" for the DVD and click "Next." Click "Burn." The movie will begin burning to the DVD disc. Wait for the burning to finish and then test the DVD.
Video of the Day