
There are many ways to create a slideshow out of a series of photos. Two apps you can use are most probably already on your computer. Windows Photo Viewer is an app you have probably already used to preview photos, but it also does slideshows. A second good choice is PowerPoint 2013. It has many more features than Windows Photo Viewer and gives you the ability to share your slideshow with others using the settings you specify.
Windows Photo Viewer SlideShow
Video of the Day
Step 1
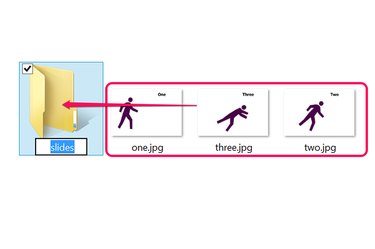
Open File Explorer and locate the photos you want to use for your slideshow. If they're not in a dedicated folder already, create a new folder and drag the photos into it.
Video of the Day
Step 2
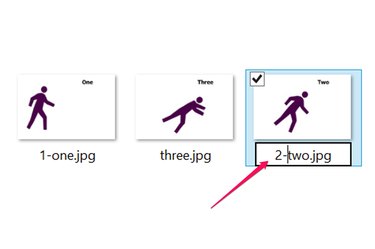
Rename the JPEG files to put them in the right order for the slideshow. To rename a file, right-click it and select "Rename." A quick way to do this is to insert a number in front of each file name. Make sure you don't write over the ".jpg" extensions.
Step 3
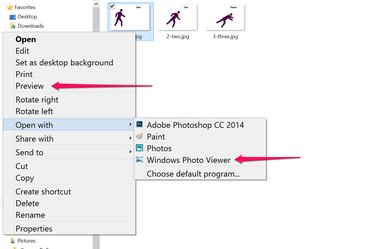
Right-click the first JPEG, select "Open With" and click "Windows Photo Viewer." Another way to open the same app is to click "Preview." The Windows Photo Viewer opens with the photo you clicked, but it has access to every other photo in the same folder.
Step 4
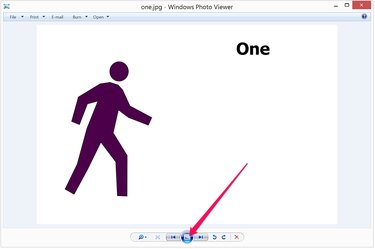
Click the "Slide Show" button to begin the slideshow. Windows Photo Viewer goes into full-screen mode, expanding each photo to fill the screen without distorting aspect ratios.
Step 5
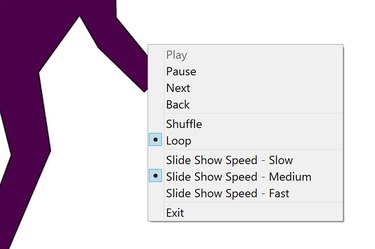
Click the mouse or use the left and right Arrow keys to navigate through the slides. Right-click the screen during a slideshow to change the speed or to select additional options, such as to shuffle, loop or pause the slideshow. To exit full-screen mode, click the "Esc" key.
PowerPoint JPEG Slideshow
Step 1
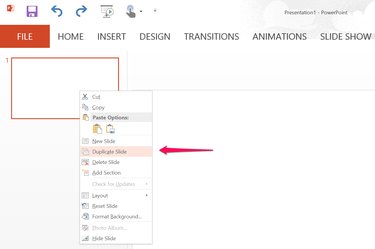
Launch Microsoft PowerPoint and create a new blank presentation. Delete the title and subtitle text boxes on the blank slide. Right-click the slide thumbnail on the left and select "Duplicate Slide" to create a blank slide for each JPEG you have.
Step 2
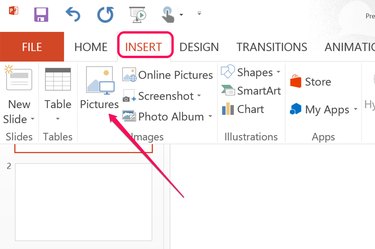
Select the first slide, click the "Insert" menu and select "Pictures." Locate the first JPEG you want for the slideshow. Place a JPEG in each slide. By default, PowerPoint scales the pictures to fill the slides, but you can resize the pictures by dragging the corners.
Step 3
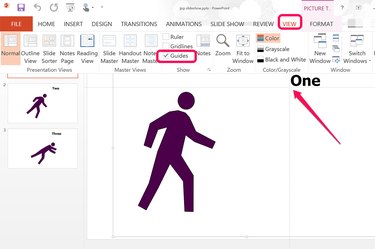
Click the "Guides" option under the View menu if you want the images to appear in exactly the same position for each slide. When you drag the horizontal and vertical guidelines to any position on one slide, they stay in the same place for every other slide. If you have several pictures of someone's face, for example, place both guidelines on one eye to have the person's head appear to stay still through every slide.
Step 4
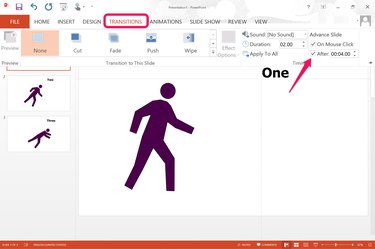
Click the "Transitions" menu and use the options in the Ribbon if you want to add effects between each slide, like a fade or wipe. On the far right of the Ribbon, you can specify the time delay between each slide, as well as enable or disable mouse clicks as a way to proceed through the slideshow.
Step 5
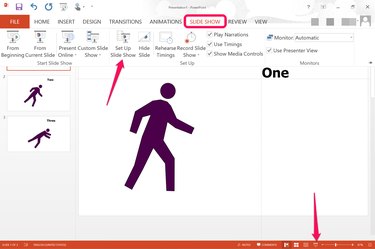
Click the "Slide Show" menu. To test your slideshow, click the "From Beginning" icon on the Ribbon, or click the "Slide Show" button that appears at the bottom of the screen. Click the "Set Up Slide Show" icon in the Ribbon before saving the presentation file.
Step 6
Specify how you want the slideshow to appear using the options in the Setup Show window. For example, the slideshow can loop continuously until you press the "Esc" key, show in full screen mode, or play in a window without full screen mode. Review the available options and click "OK."
Step 7

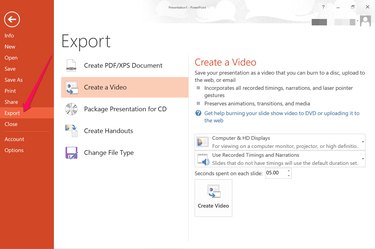
Click the "File" menu and select "Save As" to save the file as a PowerPoint presentation. If you want the slideshow saved as a video, click the "Export" button and select "Create a Video."