Publisher 2013 offers several built-in templates for creating media labels for DVDs and CDs.
Choose Your Media Label
Video of the Day
Step 1
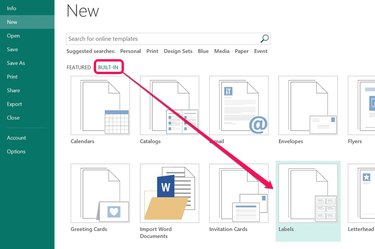
Choose your label template after you open Publisher by clicking on the Built-In templates and scrolling down and selecting the Labels folder.
Video of the Day
Step 2
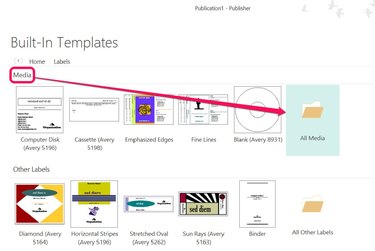
Scroll down to the Media section under labels and double-click on the All media folder. There is a Blank (Avery 8931) label available, but the All media folder offers more options.
Step 3

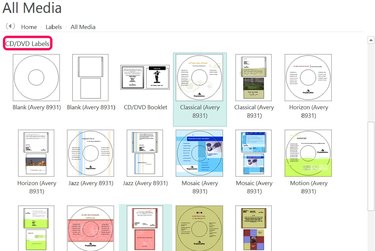
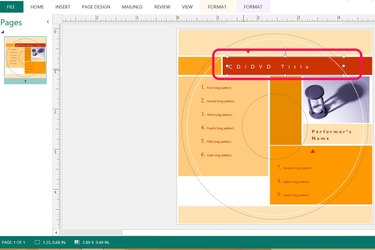
Scroll down to the CD/DVD Labels section and choose the label you want to use. This might be dependent upon the type of printable labels you purchased.
Step 4
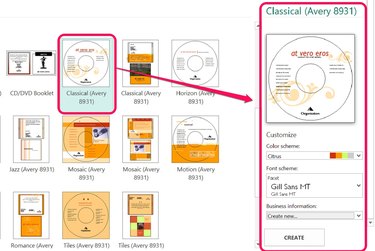
Choose the label and then experiment with color schemes and fonts in the Customize pane on the right side of the screen. Press the Create button to generate the label.
Step 5
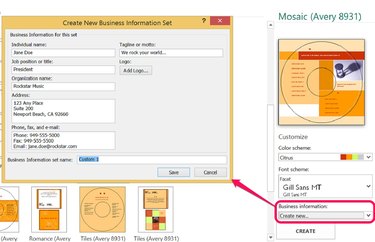
Edit Business Information, such as the company address and phone number by clicking Create new... under Business Information. Fill out the fields in the dialog box and press Save.
Edit Your Media Label
Step 1
Click into each field of your new label to edit information. You can simply type over the existing placeholder information.
Step 2
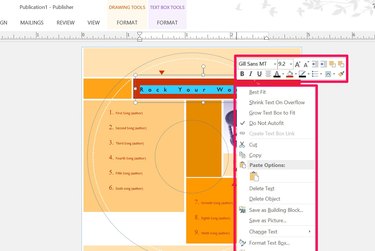
Use the hover toolbar to format the edited text or right-click to make changes using the shortcut menu.
Step 3
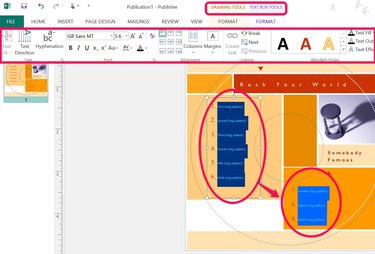
Find more text and formatting options by selecting the area you wish to edit and browsing the Drawing Tools or Text Box Tools ribbons.