In Word 2013, you can create your own photo calendar from scratch, or customize a template to suit your needs. Customizing a calendar template is much faster; however, few photo calendars aren't in tabloid format. To create a letter- or legal-sized photo calendar you can print at home, it's faster to make one from scratch.
Making a Calendar From Scratch
Video of the Day
Step 1: Open a Blank Document
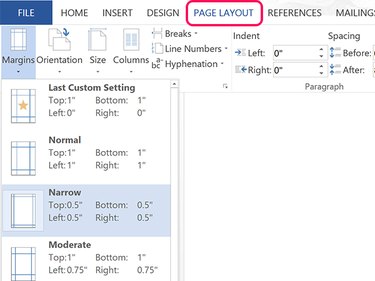
Create a new blank Word document. Using the Page Layout options, select a page Size and Margins suitable for your paper supply and printer.
Video of the Day
Press Enter twice and then press the Up arrow once to put the cursor in the center line. The space above and below the cursor will be important when it's time to insert a picture.
Step 2: Draw a Table
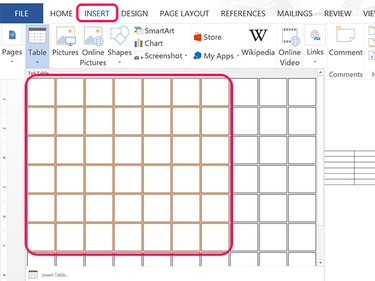
Click the Insert tab and then the Table icon. Drag the cursor over the grid to select seven horizontally and six vertically. Six rows is important for the few months that will need them. Click the space just above the table and press Enter until the table is at the bottom of the page.
Step 3: Increase the Cell Size
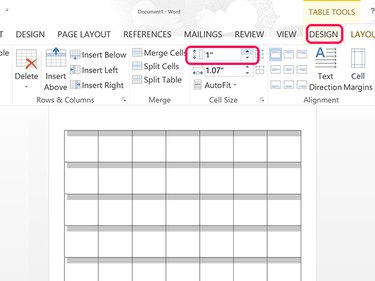
Drag the cursor over every cell in the table. Click the Table Tools' Design tab and then click the Vertical cell size icon. Increase the vertical size to 1 inch.
Step 4: Select Right Alignment
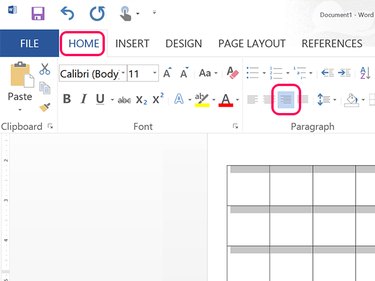
Click the Home tab and click the Right Alignment icon in the ribbon's Paragraph section. You can also change the font or font size if you wish.
Step 5: Enter the Dates
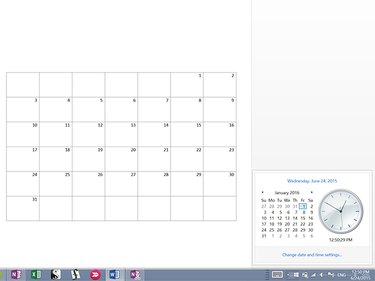
Click the Date and Time in the Windows Task Bar and find the month that will begin your calendar. Make a note of which date the first of the month falls on. Click that day on your calendar and type 1. Press Tab and type 2, then continue tabbing through the calendar until you get to the last day of the month.
Step 6: Change the Lines
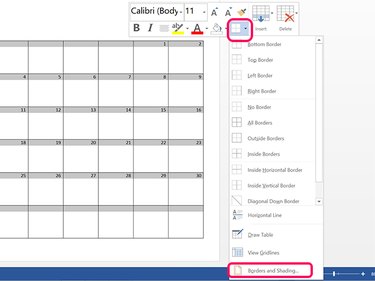
Drag the cursor over the table's cells, right-click the table and select the Border icon. Select Borders and Shading. Under the Borders tab of the Borders & Shading window, click the Color icon and select any color you want.
Step 7: Add Day and Month Names
Click the Insert tab, select Text Box and then click the first Text Box template. Drag the cursor below the table and change the text to the month's name. To adjust the amount of room below the table, click the space above the table and press Enter or Delete as needed. Right-click the text box and change the border color to None. Change the text's alignment to Center Alignment using the option under the Home tab.
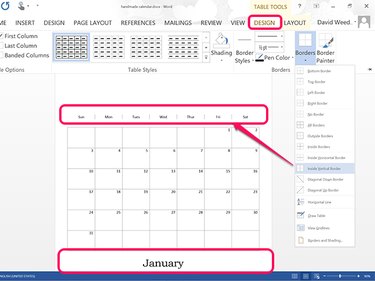
Insert a single-row table above the calendar's table and enter a day in each cell. Right-click the table or click the Table Tools' Design Tab, click the Borders icon and select Inside Vertical Border. Using the Home ribbon option, change the alignment to Center Alignment.
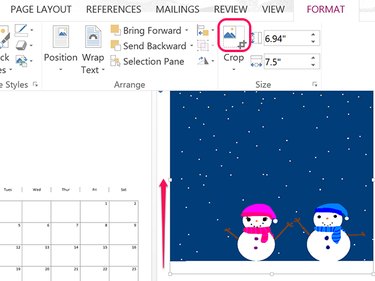
Step 8: Insert a Picture
Place the cursor below the table and press Enter until a second page appears. Click the Insert tab and select Pictures or Online Pictures. Choose a picture for the calendar page and it appears at the top of the second page, which is now directly beside the first page, due to Word 2013's default page view settings.
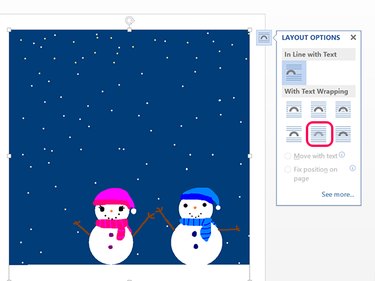
Right-click the picture and click the Layout Options icon that appears in the corner and change the Text Wrapping to Behind Text. Drag the picture to the top of the first page.
Step 9: Crop the Picture
While the picture is selected, click the Picture Tools' Format tab and then click the Crop icon. Drag the bottom Crop line up so that it's higher than the table on the left. Drag the center of the image to position it within the crop marks as desired and press Enter.
Step 10: Add Additional Months
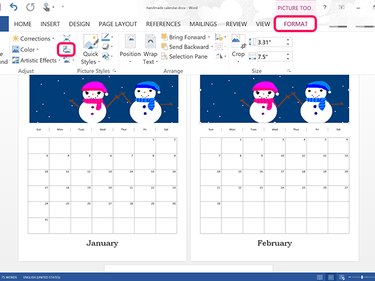
Press Ctrl-A to select all and Ctrl-C to copy the calendar contents. Click the top of the second page and press Ctrl-V to paste a second calendar page in the document. Change the dates, the month name and the picture, then put the cursor at the top of the third page and press Ctrl-V to begin creating a third month.
Customize a Calendar Template
Step 1: Open a Template
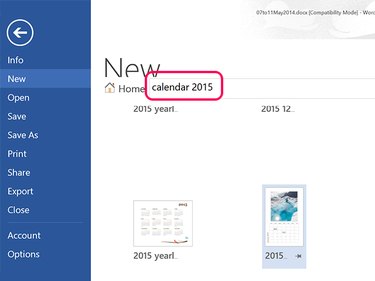
Launch PowerPoint and type "calendar" and the year you want in the search field. Click a template to see a preview. When you find the right template, click the Create button.
Step 2: Replace the Pictures
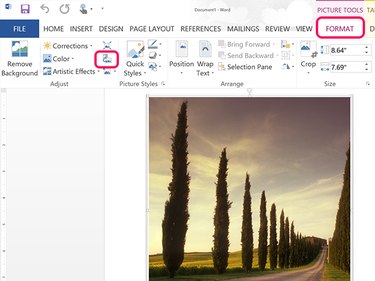
Select a photo that you'd like to replace with one of your own. Click the Picture Tools' Format tab and then click the Change Picture icon. You can then replace the picture with one from your computer or use Bing Image Search to find a replacement covered under Creative Commons licensing for personal use.
Step 3: Personalize the Dates
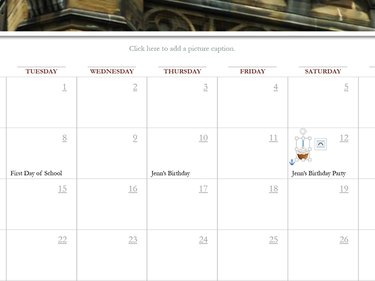
Click any date to type a detail like a birthday or anniversary. You can also insert pictures into the date fields by clicking Pictures or Online Pictures in the Insert tab's ribbon. Change the Text Wrap for the image to Behind Text and then resize the image so it fits into the date.