Between iPhoto, Aperture, Front Row and individual folders, MacBooks provide a variety of choices for storing, viewing and editing your photos. However, none of these applications help you when you want to access your photos away from your MacBook. Copying your photos to a USB flash drive is one of the easiest and most convenient ways to take them with you wherever you go.
Step 1
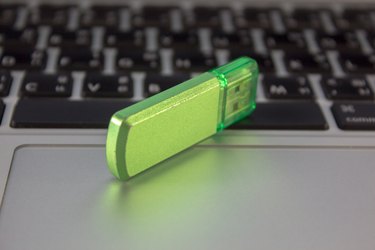
Insert your USB flash drive into one of the USB ports on your Macbook.
Video of the Day
Step 2
Click the "Finder" icon in your Dock to open a new Finder window. Click the device icon for your USB drive in the left column and leave this Finder window open.
Step 3
Locate the photos you want to move. If you have them in a folder, open a new Finder window and navigate to the folder on your hard drive. If you use an application like iPhoto or Aperture, open the application.
Step 4
Select the photos you want to move. Use the "Shift" key to select multiple photos in a row or the "Command" key to select multiple nonconsecutive photos. For folders, you can click to select the entire folder.
Step 5
Click your selected folder or photos and, still holding your mouse, drag them to the Finder window with your USB flash drive. Release your mouse when you see the green "+" sign. Your photos will copy automatically when you release your mouse.
Video of the Day