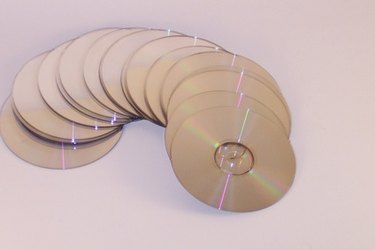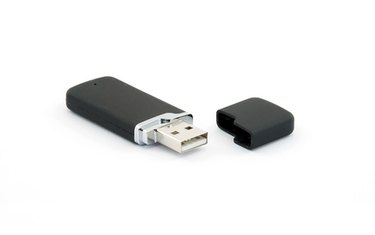
As with all computer functions, transferring music files from a flash drive to a CD can be a long and complicated process without certain knowledge. You will find, however, that understanding this process will not only help you make music CDs in the future, but will also help you understand how to transfer other types of files from your flash drive, to your computer and to your CDs.
Transferring Files to Your Computer
Video of the Day
Step 1

Plug your flash drive into the USB port of your computer. Typically most computers will have a "plug and play" function that will automatically open an explorer window to browse the files on your flash drive. If nothing opens automatically, then open up the explorer on your computer, locate the drive titled "Removable Drive" and double-click on it.
Video of the Day
Step 2
Locate the music files on your flash drive that you wish to put on a CD. If you are unsure of which files you would like to use, you can double-click on any of the music files to play them on your computer.
Step 3

Highlight all of the music files that you would like to use, and hit "Ctrl+C" (or "Apple+C" on a Mac). This function will copy all of the files onto your clipboard, ready to transport onto your computer. Navigate to the location on your computer's hard drive where you would like to store the music files, and hit "Ctrl+V" (or "Apple+V" on a Mac). The music files on your flash drive are now stored on your computer as well.
Burning the CD
Step 1
Insert the blank CD R/W into your computer's CD drive, and open up iTunes on your computer. As with the flash drive and USB ports, most computers will automatically ask you if you would like to open up the blank CD on iTunes. If iTunes does not automatically open, however, locate it in the windows explorer at the lower left corner of your PC, or in the bottom tray of your Mac.
Step 2

Select the blank CD menu on the left side of the screen in iTunes. Once again, copy and paste the music files from wherever you have stored them on your hard drive onto the blank CD by highlighting the music files, hitting ("Ctrl+C" or "Apple+C"), then selecting the blank CD in iTunes and hitting ("Ctrl+V" or "Apple+V").
Step 3
Burn the music onto your blank CD by hitting the red circular button at the top right corner of iTunes. Once you begin burning the CD, the process cannot be stopped or reversed, so be sure that you are satisfied with both the content and the order of the music on the CD that you are burning.