When you're about to make a PowerPoint presentation to your classmates or co-workers, the last thing you want is projector problems. If one computer is already properly connected to the projector, it's much easier to open your PowerPoint on that machine than to start the connection process all over again with your own laptop. Saving a copy of your presentation on a flash drive -- a storage device small enough to fit on your keychain -- makes it easy to transfer the file and provides a convenient backup at the same time.
Step 1
Open your presentation in PowerPoint.
Video of the Day
Step 2
Click the Office button and choose "Save As."
Step 3
Click "Computer" on the left to bring up a list of all your computer's drives.
Step 4
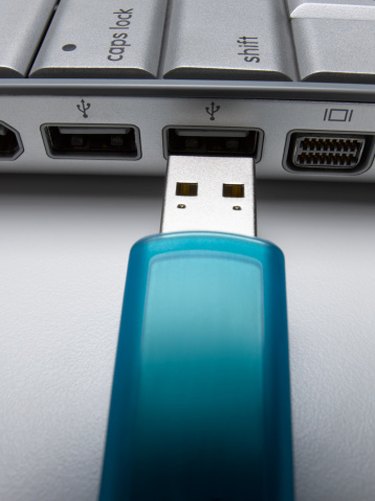
Insert your flash drive into a free slot on your computer.
Step 5
Double-click on your flash drive, for example, "J:." Watch the "Computer" window carefully right after you insert the flash drive; the drive icon that changes wording or colors is usually your flash drive.
Step 6
Click "Save." Your PowerPoint file is now saved on your flash drive.
Step 7
Click "Start" > "Computer."
Step 8
Right-click on your flash drive. Choose "Eject."
Step 9
Remove the flash drive from your computer.
Video of the Day