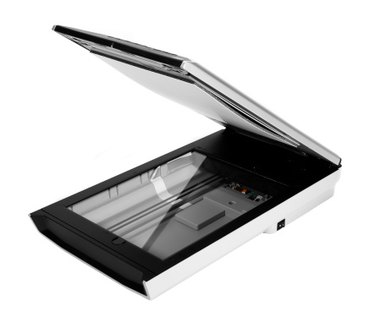
Scanning documents into a digital medium is an excellent way to archive, reproduce and transmit documents. The problem lies when documents are too large to be scanned in a single pass. However, thanks to stitching and panoramic software, images can be scanned in parts and stitched together to automatically combine them into a single document or image.
Step 1
Scan part of the document, starting at one of the corners of the document.
Video of the Day
Step 2
Slide the document over, so you scan the next section of the document, making sure to overlap slightly onto the previously scanned portion. This gives some "common ground" on both images, so the stitching software will know where the put them together.
Step 3
Repeat this procedure of scanning and overlapping until the entire document is scanned in parts.
Step 4
Select the stitch option of your scanner, if applicable. Few scanners have this options, so if you cannot find the option, proceed to the next step. If you do have the option, follow the scanner instructions.
Step 5
Import your scanned images into a stitching program, such as PTgui, PT Stitcher, Adobe Elements or Adobe Photoshop. Follow the instructions for your software program to auto-stitch the images together. In Adobe products, the feature is called "Photomerge," whereas the other programs are dedicated to the purpose.
Video of the Day