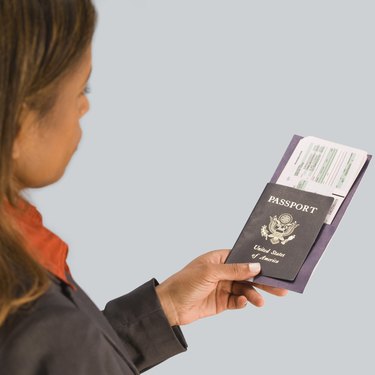
Taking a passport photo yourself saves you the time and money of having a professional do it for you at a store. A passport photo must conform to specific requirements listed on the U.S. Department of State website. You can make a valid passport photo by taking a photo, transferring it to your Mac, cropping and resizing it to the correct requirements in an image-editing program, and printing it on photo paper.
Step 1
Take a digital photo of the person's upper body and head from approximately 5 feet away. Remove any overhead lights if they cause shadows in the background. Make sure to include the space above the person's head in the photo. The person must be facing the camera and have a neutral look. The background color needs to be a well-lit white or an off-white.
Video of the Day
Step 2
Transfer the digital photo to your Mac. This is typically done by running the camera's software, connecting the camera to the Mac with the camera's provided cord, and choosing to save the photo on your Mac.
Step 3
Open the photo file in an image-editing program such as Adobe Photoshop.
Step 4
Measure the distance in the photo from the chin to the top of the head. In Photoshop, this is done by click-and-holding the eye dropper icon and selecting the "Ruler Tool." Click the bottom of the chin, hold down the "Shift" key and click the top of the head. Note the distance in pixels on the title bar.
Step 5
Calculate your dpi (dots per square inch) for the photo by dividing the number of pixels from the chin to the top of the head by 1.1. The number 1.1 represents a safe value between the U.S. Department of State's 1-inch to 1 3/8-inch requirements. For example, a chin to top of head measurement of 500 pixels results in a 454 dpi.
Step 6
Calculate the necessary width and height of the passport photo by multiplying the dpi by 2. For example, 454 dpi results in a 908 pixels by 908 pixels image size.
Step 7
Create a selection box with a fixed size equal to the necessary image size in pixels. In Photoshop, this is done by clicking the "Marquee Select" tool from the toolbar. Select "Fixed Size" from the "Style" drop-down menu on the title bar. Input your values in the "Width" and "Height" boxes. Position the box so that the person's nose is in the center.
Step 8
Copy the selected space by holding down the "CTRL" key and pressing the "C" key.
Step 9
Create a new file by clicking the "File" menu and clicking "New." Set the "Preset Size" to "4 x 6" and the resolution to your dpi calculation.
Step 10
Paste your photo to the image space by holding down the "CTRL" key and pressing the "V" key. Move the image near the top of the white space. Paste another copy of the image to the window and move that one near the bottom of the white space.
Step 11
Save the file.
Step 12
Print the image on photo-quality paper. If you don't have a photo printer you need to print it at a photo store.
Step 13
Cut the printed photos with a trimmer to 2-by-2-inch dimensions. Your photos are now ready to submit with your passport application.
Video of the Day