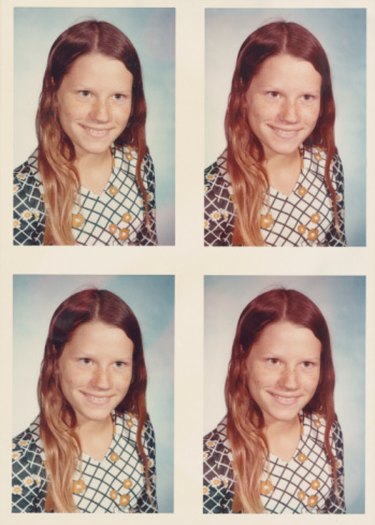
An ID size photo is needed when you submit certain applications, such as a passport application. Passport photos or ID size photos generally follow specific rules in terms of image size, background color and photo measurement. Printing an ID size photo can be done from home with the appropriate photo printing software, photo paper and printer. Most color photo printers come with photo printing software. Print as many ID size photos as you need and save yourself time and money.
Step 1
Open the photo printing software program that came with your color photo printer.
Video of the Day
Step 2
Select the image file to use.
Step 3
Click on "Select Paper" and select the paper size type of photo paper you will use.
Step 4
Click on "Layout/Print" and select the layout that most accurately reflects the number of ID photos you want to print and the measurement for the ID photo.
Step 5
Review the preview and use the toolbar to crop the image or rotate the image, if necessary.
Step 6
Turn on your color printer and insert the appropriate size paper to the manual feed tray. Press "Print" on the screen.
Video of the Day