Many copiers now include additional features such as scanning and faxing. The convenience of having a copier that scans documents to send to your computer makes it easier to email documents to clients or companies. Scanning a document so it saves to your computer isn't difficult once you're familiar with your particular copier's functions. With the press of a button, most copiers quickly scan your documents to save or email later.
Step 1
Turn on the copier and your computer. Check that your copier is connected to your computer before you begin.
Video of the Day
Step 2
Lay the document on the copier with the printed side down on the glass.
Step 3
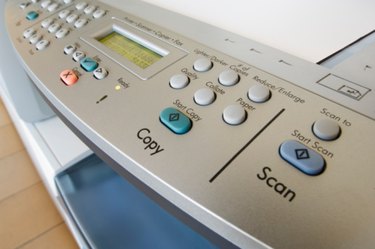
Press the "Scan" button to begin the scanning process. Follow the on-screen steps on the copier or on your computer for your particular brand of copier.
Step 4
Confirm the scanned image is accurate. If not, reset the document on the copier and scan it again. Otherwise, click "Next" or "OK" to complete the scanning process.
Step 5
Select a destination for your document. Save your document to the computer, giving it a name and location you easily remember, or enter an email address if available.
Step 6
Open your preferred email program and attach the document to an email if the copier cannot send the file directly to your email address. Select a recipient to send the scanned document and click "Send" after composing your message.
Video of the Day