
Sending large photos in an email can make the message slow to send and receive, and you may need to reduce the photo's size to speed things up. Although Gmail has a resizing tool for images placed inline in the body of an email, it can't help you reduce photos sent as attachments. To resize those, you need to use a free image editing program, such as Photo Gallery (Windows 8) or Windows Live Photo Gallery (Windows 7) to reduce the photo before attaching it.
Resize an Inline Photo in Gmail
Video of the Day
Step 1
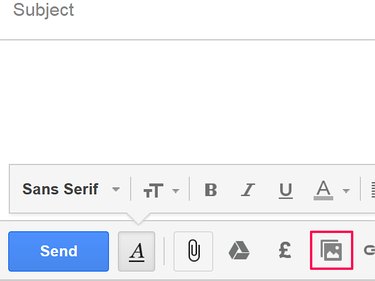
Select Compose to create a new Gmail message. Select Insert Photo from the menu at the bottom of the email.
Video of the Day
Step 2
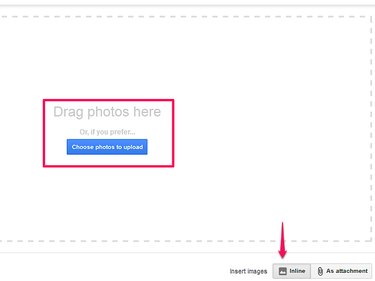
Choose the location of your photo from the Insert Photo menu. Use Photos or Albums tabs to select images associated with your Google account, such as Google+ photos, or a Web address (URL) to paste a link to an online image.
To upload a photo stored on your computer, use Upload. Drag the image to the window or use Choose Photos to Upload to search for it. Select the image to start uploading it into the message.
Step 3
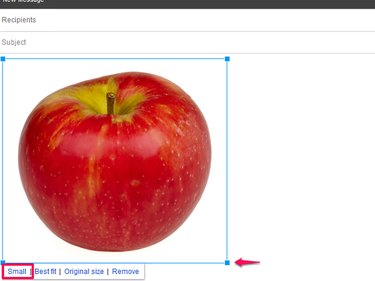
Select the photo in the email. If the image is large, Google will resize to Best fit so it appears neatly on the page. Select Small from the sizing options to reduce it. Or use the blue squares on the outline around the photo to drag it to the size you want. When you're done, you can send your email.
Resize a Photo for a Gmail Attachment
Step 1
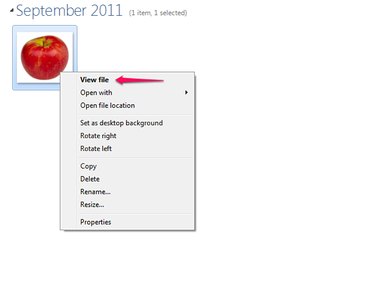
Type photo from the Start screen in Windows 8 or in the Start menu search bar in Windows 7 and open the Photo Gallery program from the results. Double-click the folder containing your photo in the directory bar, right-click on the photo and select View File to open it in the gallery.
Note: If you don't see Photo Gallery or Windows Live Photo Gallery in search results, your manufacturer may not have installed it on your computer. To install it, download Microsoft's free Windows Essentials pack. (See Resources.)
Step 2

Select Properties in the Organize area and then Resize. Use the Select a Size drop-down menu to reduce the photo -- for emails, the Smaller option may be the best.
The program automatically saves the resized photo as a new file in the same folder as the original. To store it in a different folder, select Browse, choose its new location and select OK. When you're done, select Resize and Save.
Step 3
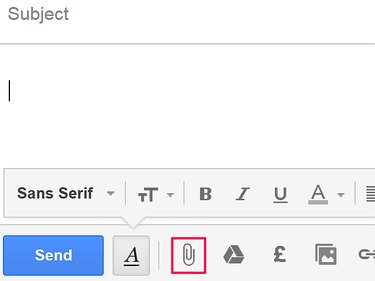
Go to your Gmail account and create a new email. Select the Attach Files button on the bottom menu.
Step 4
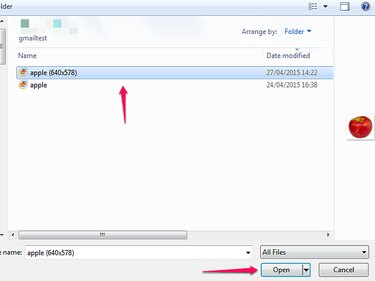
Go to the resized photo on your computer in the upload window. Select Open to insert it as an attachment in your email.
- Google: Insert Images Into Your Messages
- Microsoft Windows: Edit Photos in Photo Gallery
- Google: Add Attachments
- Microsoft Windows: Windows Essentials
- Microsoft Windows: Zipping and Unzipping Files
- Microsoft Windows: Sharing Files and Folders and Changing Permissions
- Google: How to Share
- Dropbox: How Do I Share Photos With Other People?