4 steps to secure your accounts: passwords, 2FA, and passkeys
Before you start: what this gets you
By the end of this guide, you'll have a password manager installed, your most critical accounts protected by strong unique passwords and two-factor authentication, and passkeys set up on any services that support them. That's roughly 90 minutes of focused work, applied in the right order.
The order matters because each move compounds the one before it. Your primary email can reset access to almost everything else you own online. Reused passwords mean a single breach at any service exposes every account sharing that credential. Two-factor authentication stops most attacks even after a password leaks. Passkeys go further, removing the password entirely on services that support them. Do them in sequence.
Start narrow: primary email, financial accounts, anything you use to sign into other services. That's a credible first pass. Everything else clears in batches.
What you'll need before starting:
- A smartphone and a desktop browser
- Access to the email address tied to your key accounts
Video of the Day
Video of the Day
Move 1: Install a password manager first
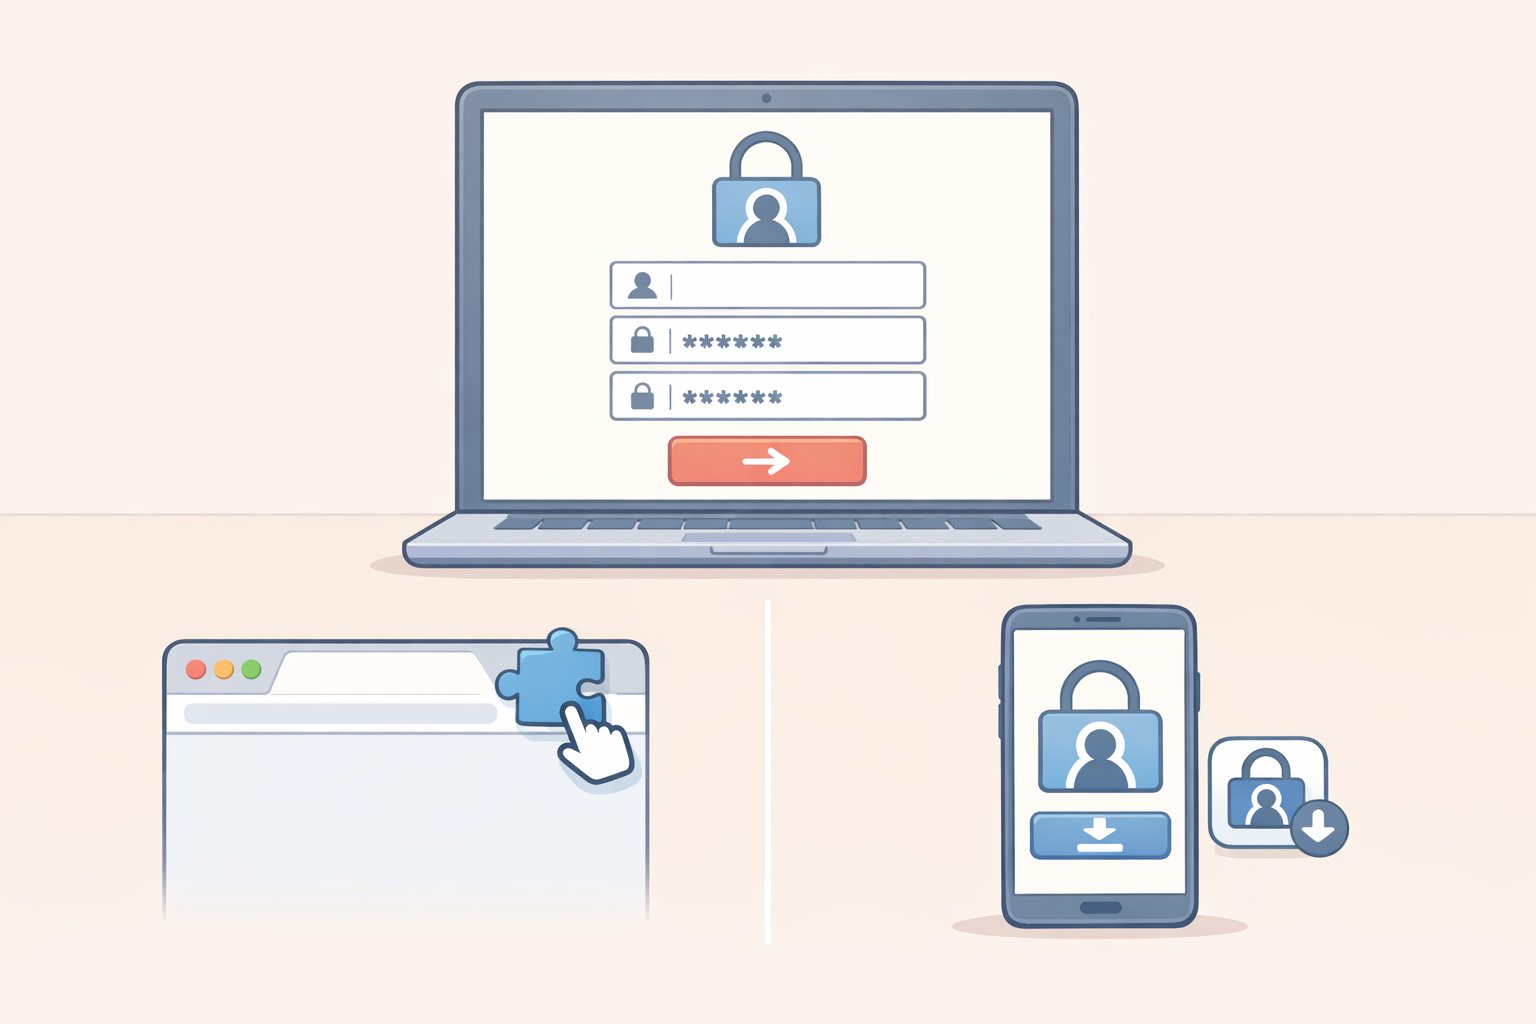
Everything else in this guide depends on this step. Most people know they should use different passwords for every account. Most people quietly don't, because memorizing dozens of random strings is genuinely impossible. A password manager stores every credential in an encrypted vault, generates new passwords on demand, and fills them in automatically across devices. That's what makes the rest of this practical rather than theoretical.
Three solid options:
- Bitwarden: open-source, free for individual use
- 1Password: polished cross-device experience
- Dashlane: includes built-in breach monitoring
Before committing, check each provider's account recovery policy. What happens when you lose your master password varies significantly by service, and that's not a detail to discover after you're locked out. Wired's password manager comparison covers the tradeoffs side by side and is updated periodically.
Steps:
- Create an account with your chosen manager.
- Install the browser extension on your desktop and the app on your phone. Both, not just one.
- Set your master password using a passphrase: four or more unrelated words strung together, such as
staple-velvet-canyon-drum. Length beats complexity. Write it down and store it somewhere physically secure; a printed note in a locked drawer works fine. - Import saved passwords from your browser. Most managers walk you through this during setup.
Delete browser-saved passwords after migrating. Keeping credentials in two places doubles your exposure. Once you've confirmed the import, clear the browser's saved passwords from its settings. The manager is the single source of truth now.
Two problems you'll likely hit:
- The browser extension isn't auto-filling: Check that you've granted it permission to access browser data. On Safari, this requires manually enabling the extension under browser settings; it doesn't activate automatically.
- You skipped recovery setup during onboarding: Go back and configure it before closing the window. Many password managers use zero-knowledge encryption, meaning the provider cannot recover your master password on your behalf. A printed emergency kit or a designated trusted contact are common options depending on the service. No safety net exists unless you build one yourself.
Move 2: Audit your existing passwords and replace the worst ones
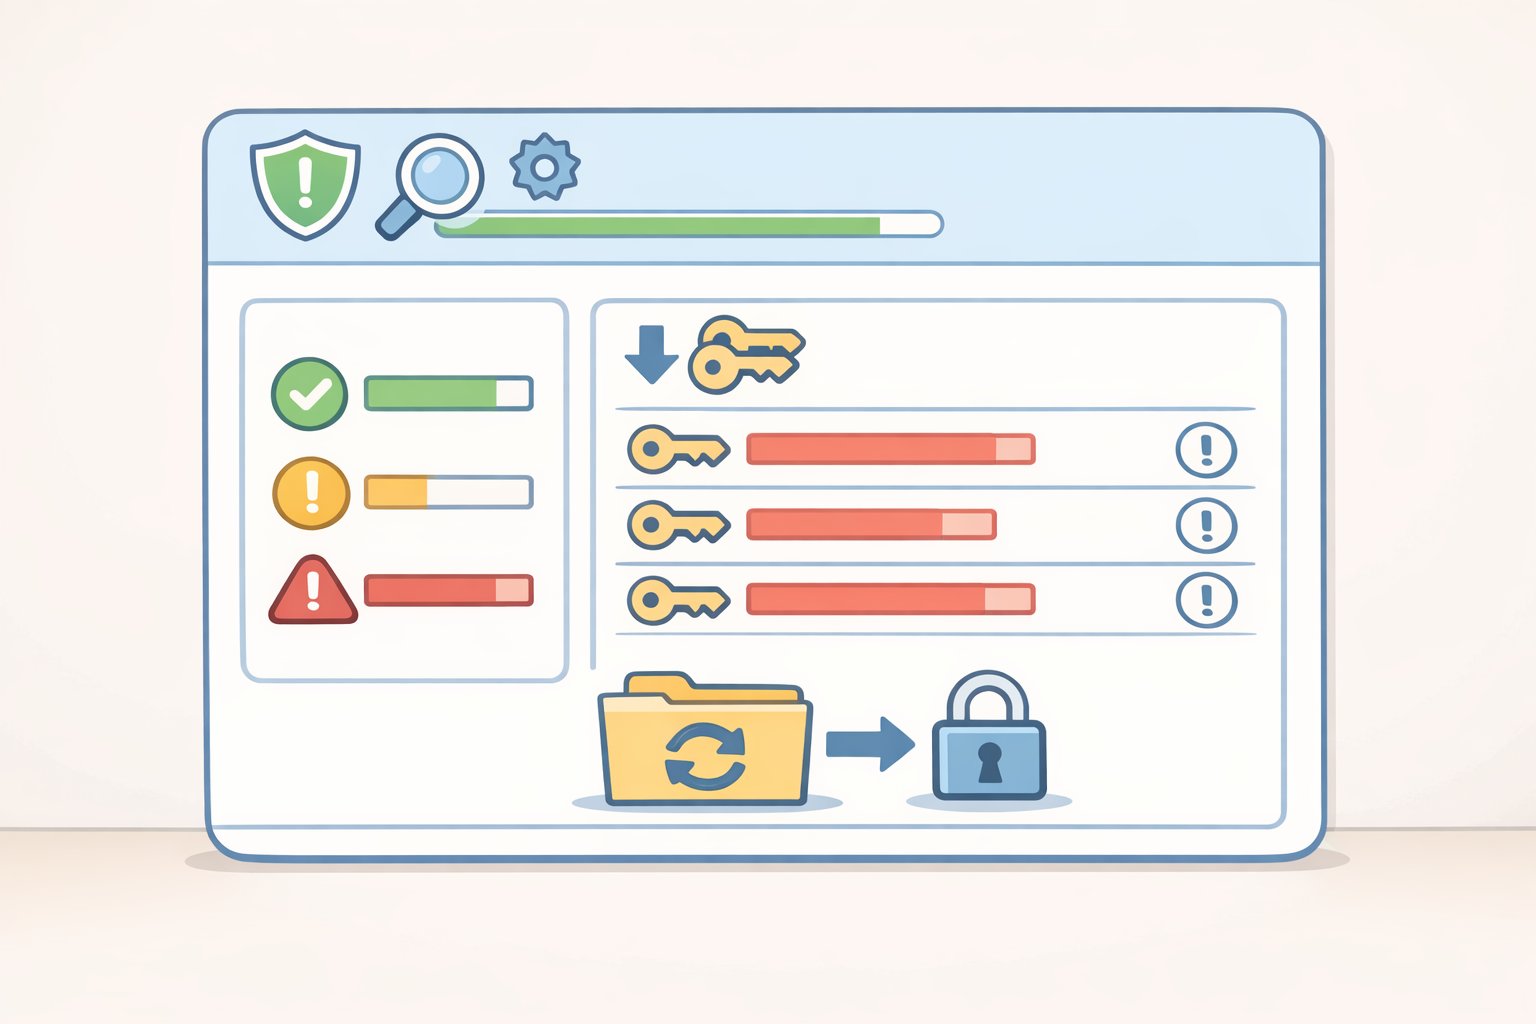
Open your password manager's security dashboard and run the audit. It surfaces reused passwords, weak passwords, and credentials that appeared in known breaches. Your job is to work through the results in a specific order.
Priority order:
- Primary email. It resets access to almost everything else, which is exactly why it's the highest-value target.
- Banking and financial accounts.
- Single sign-on services (Google, Apple ID) that function as keys to other accounts.
- Work accounts. If it's a shared or managed account, check with your IT team before changing anything; some organizations route password changes through their own systems.
- Everything else, in batches over the coming weeks.
The password your manager generates, a long random string you'll never memorize, is stronger than any password you constructed yourself. Clever substitutions don't protect against the attacks that actually expose credentials; length and uniqueness do.
Ten to fifteen accounts per session is a realistic target. More than that produces errors and fatigue. An incomplete list still represents real improvement; treat it as a queue, not a single task.
Steps:
- Open the security dashboard in your password manager.
- Sort by reused passwords first. One breach exposes all of them simultaneously.
- Go to each account's password change page and let the manager generate and save a new unique password.
- Work through accounts in batches rather than trying to clear the full list in one sitting.
Check for known breaches: Have I Been Pwned maintains a free searchable database of exposed credential sets. Most password managers integrate this check directly. If an account appears in a breach, move it to the top of your change list regardless of normal priority.
Move 3: Enable two-factor authentication on your most important accounts

A strong unique password is one lock on the door. Two-factor authentication means a stolen password alone can't open it. The attacker also needs physical access to your authentication device, which is a fundamentally different problem than buying a leaked credential list.
Not all 2FA methods carry equal weight. SMS codes travel over the phone network, which creates exposure to SIM-swap attacks, where someone persuades a carrier to redirect your number to a device they control. App-based codes are generated locally on your device and never transmitted, which removes that vulnerability. Hardware security keys go further, providing authentication tied to your physical possession of a specific device.
Use the best option your account supports, in this order:
- Hardware security key (such as a YubiKey): the right choice for email and financial accounts if you're willing to invest in one
- Authenticator app (Authy or the TOTP feature built into most password managers)
- SMS text codes: only when no app-based option exists
Steps:
- Start with email and financial accounts, same priority order as Move 2.
- Open each account's security settings. Look for "Two-factor authentication," "Two-step verification," or "Login verification"; the label varies by service.
- Select the authenticator app option where it's offered. If SMS is the only available choice, use it. If something better exists, use that instead.
- Scan the QR code with your authenticator app and enter the confirmation code to activate.
- Save the backup recovery codes the service provides. Store them in your password manager's secure notes, not a text file on your desktop or a draft email.
Treat recovery codes like a spare house key: accessible enough to reach in an emergency, not so exposed that anyone with five minutes on your device can find them.
One tradeoff worth deciding before you proceed: several password managers now generate TOTP codes alongside stored passwords. It's convenient, but both factors end up in the same application. A standalone authenticator app on your phone adds real separation: if someone gains access to your manager, they'd still need your physical device to generate a valid code. For your most critical accounts, that separation is worth the minor inconvenience.
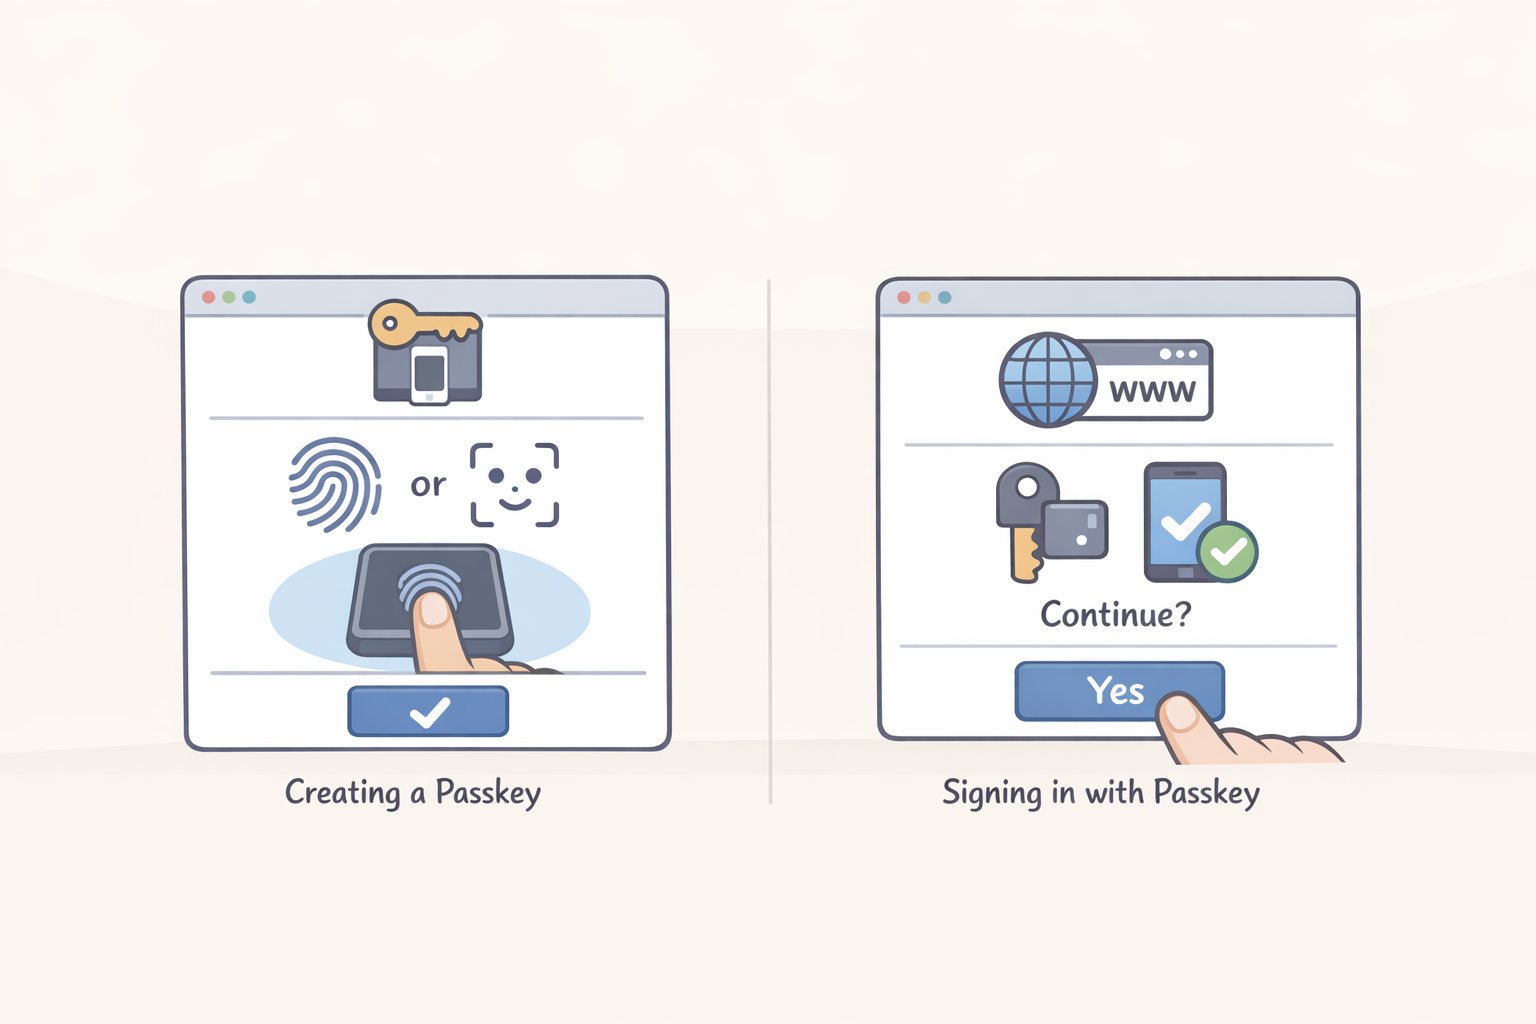
Move 4: Set up passkeys where your accounts support them
The first three moves apply everywhere, right now. This one depends on whether your specific services have added support yet. It's not a fix for something broken; it's a different authentication model that makes passwords optional, then eventually unnecessary.
A passkey uses a cryptographic key pair instead of a password. The private key stays on your device, protected by biometrics or a PIN. The public key sits on the service's server. When you log in, your device proves it holds the private key without ever transmitting it. Because authentication is bound to the exact domain of the site, a phishing page mimicking your bank can't trigger a valid passkey login. There's nothing to trick you into typing.
Support is growing but uneven. Set passkeys up where you can; don't wait for the holdouts.
Check which of your accounts support them: Passkeys.io's directory maintains an updated list. Google, Apple ID, GitHub, and PayPal are reliable starting points.
Steps:
- Open the account's security settings.
- Look for "Passkeys" or "Sign-in options" and select "Create a passkey."
- Your device will prompt for local authentication: Face ID, Touch ID, Windows Hello, or your PIN.
- Confirm creation. The passkey syncs automatically within your device ecosystem.
- Sign out and sign back in using the passkey before closing the browser. Two minutes of testing now prevents a lockout later.
Cross-platform friction to plan for: a passkey created on an Apple device syncs cleanly across iPhone, iPad, and Mac, but accessing it from a Windows machine requires extra steps. 1Password and Bitwarden both support passkey storage that works across platforms. If you move between Apple and Windows devices regularly, routing passkeys through one of them from the start is cleaner than migrating later.
Your minimum viable checklist
- [ ] Password manager installed with browser extension and mobile app
- [ ] Master passphrase written down and recovery options configured
- [ ] Browser-saved passwords imported and then deleted from the browser
- [ ] Primary email password replaced with a manager-generated unique password
- [ ] 2FA enabled on email using an authenticator app, recovery codes saved to secure notes
- [ ] Banking and financial account passwords changed and 2FA enabled
- [ ] Have I Been Pwned checked; any breached accounts prioritized and updated
- [ ] One passkey set up on a supported account
If you only have an hour, stop after Move 2 with email and financial accounts covered. That single session closes the most common attack path. The other accounts on your list can wait a week; your email sitting on a reused password cannot.
Work through the rest in batches as time allows. Each session, open the dashboard, knock out a handful of accounts, confirm your recovery options still point to current contacts. The accounts you haven't reached yet carry lower collective risk than the ones you've already secured. You're not trying to finish everything at once. You're just making sure the targets that matter most are no longer the easy ones.