Printing checks from scratch can be a nightmare, necessitating special paper, magnetic ink, and hours of time. Printing information on pre-printed checks is much easier. Basic check templates can be purchased at most office supply stores while customized pre-printed checks can be purchased at copy stores. From there you just type the payment information, print it out, and sign it.
Step 1
Look closely at your printer to ensure it is compatible with printing checks. The standard check size is 3.5 inches by 7 inches.
Video of the Day
Step 2
Insert the pre-printed checks into your printer's paper feed.
Step 3
Install check-printing software. This makes it simple to enter and format all the necessary information and print multiple copies. You have several options for software, including dautomation.com, insticheck.com and checkman.com.
You can also use regular word-processing software (like Microsoft Word) to print your checks; it will just take more work. You'll need to use a ruler to measure where everything goes on your checks and create a document where you line everything up manually. This will probably involve some trial and error to get everything placed correctly.
Step 4
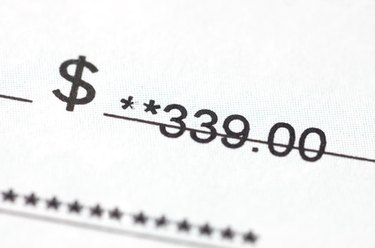
Enter in the required information. On a standard check, this would be the recipient's name, dollar amount written longhand, dollar amount written numerically, and a note. If your pre-printed checks do not have your name on them already, you will have to add these, too.
Step 5
Click "Print."
Step 6
Sign the check by hand. Most banks will not accept a printed signature.
Video of the Day