In 2005 SDI Technologies launched iHome, which now offers full lines of alarm clocks, clock radios and other products catered to iPod owners. While the iHome is not one individual product, the line offers many products with adjustable clock settings. The process of adjusting these settings may vary slightly, but the main concepts and features are consistent with various models of the iHome.
Step 1

Set for Daylight Savings Time (DST), if applicable, by adjusting the "DST Switch" on the bottom of the unit; adjust the time zone by pressing and holding the "Time Zone" button until the display flashes, then pressing the "Select UP/FF" or "Select Down/Rew" button until the desired time zone is selected. Press the "Time Zone" button a second time to exit the time zone setting mode.
Video of the Day
Step 2
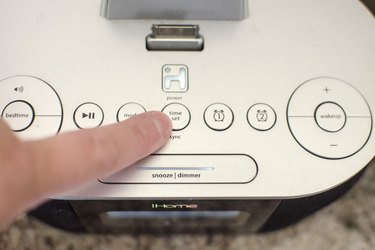
Press and hold the "Time Set" or "Clock Adjust" button for 2 seconds. This button is usually located on the top or bottom of the unit. The display should begin flashing, indicating that the time can be set.
Step 3

Press and hold the "Hour Set" button. The current hour will presently be displayed. Press the "Sleep/Minute Set" button to adjust the minute time. If your unit does not contain these buttons, press the "Select UP/FF" or "Select Down/Rew" button until the correct time is displayed.
Step 4
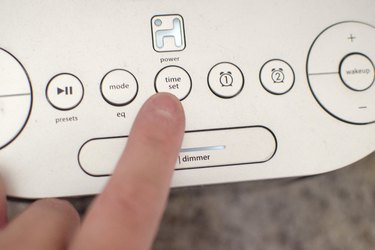
Press the "Time Set" or "Clock Adjust" button again to confirm the clock time setting. Listen for 2 beeps or otherwise make sure that the display ceases blinking; this indicates the clock time is set.
Video of the Day