Radio-controlled clocks, also called "atomic" clocks, give you the most precise time available. Once initially set-up, they keep themselves set via radio waves from the U.S. atomic clock in Colorado. The time is accurate to 10 billionths of a second per day. Setting up a radio-controlled clock is not difficult. Once you set it to your specific time zone, it works on its own.
Step 1
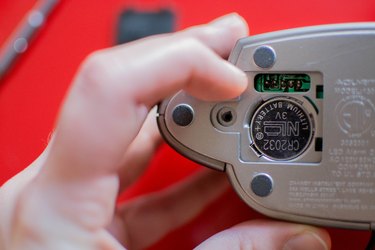
Open the battery compartment in the back of the clock. Install a new battery and replace the lid. If the main power source goes out, your radio-controlled clock will keep the proper time for up to 12 hours. There will be no display, but the alarm function will still work.
Video of the Day
Step 2
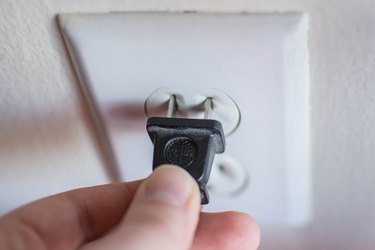
Plug the atomic clock into a standard wall outlet. Wait a few seconds for a time to appear. The default time is Eastern Standard Time, with Daylight Savings Time in effect.
Step 3

Locate the time zone switch on the top of the radio-controlled clock. Slide it to your zone, either "Pacific Standard Time," "Mountain Standard Time," "Central Standard Time" or "Eastern Standard Time."
Step 4
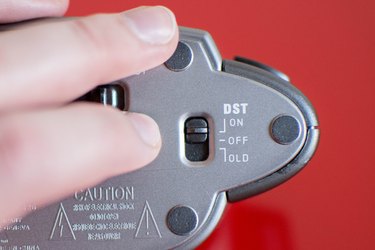
Locate the Daylight Savings Time button on the top of the atomic clock. It is already on. To shut the DST off, press the button once. Press the button marked with a "+" sign once.
Step 5
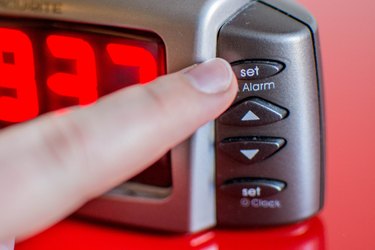
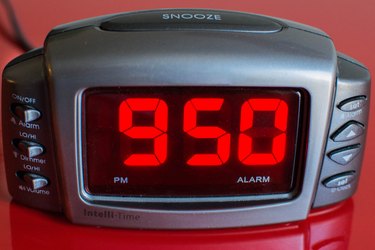
Set the alarm on the radio-controlled clock by pressing the "Alarm Set" button once. Then, press the plus "+" or "-" keys to the exact time you wish. Remember to set the wake-up time to either "a.m." or "p.m."`
Video of the Day